
Greenhouse Part 2: Assembly
Boxes of greenhouse parts have sat in my carport long enough… time to get building!
First, go read the previous greenhouse post.
My project started with needing to bump out the top shelf of the garden terrace. The top step was plenty big for my little 5' x 5' temporary greenhouse, but it needed to be a little wider to accommodate new the 6' x 8' footprint. Also, since the sandy slope was likely to erode if not properly stabilized, I lined it with plastic and stone dust to direct water out the edge rather than down slope.
Here's the base kit resting on top of the in-the-way rocks. Also, notice the spigot that I’d added when the irrigation system was installed… this will give me easy access to running water inside the greenhouse.

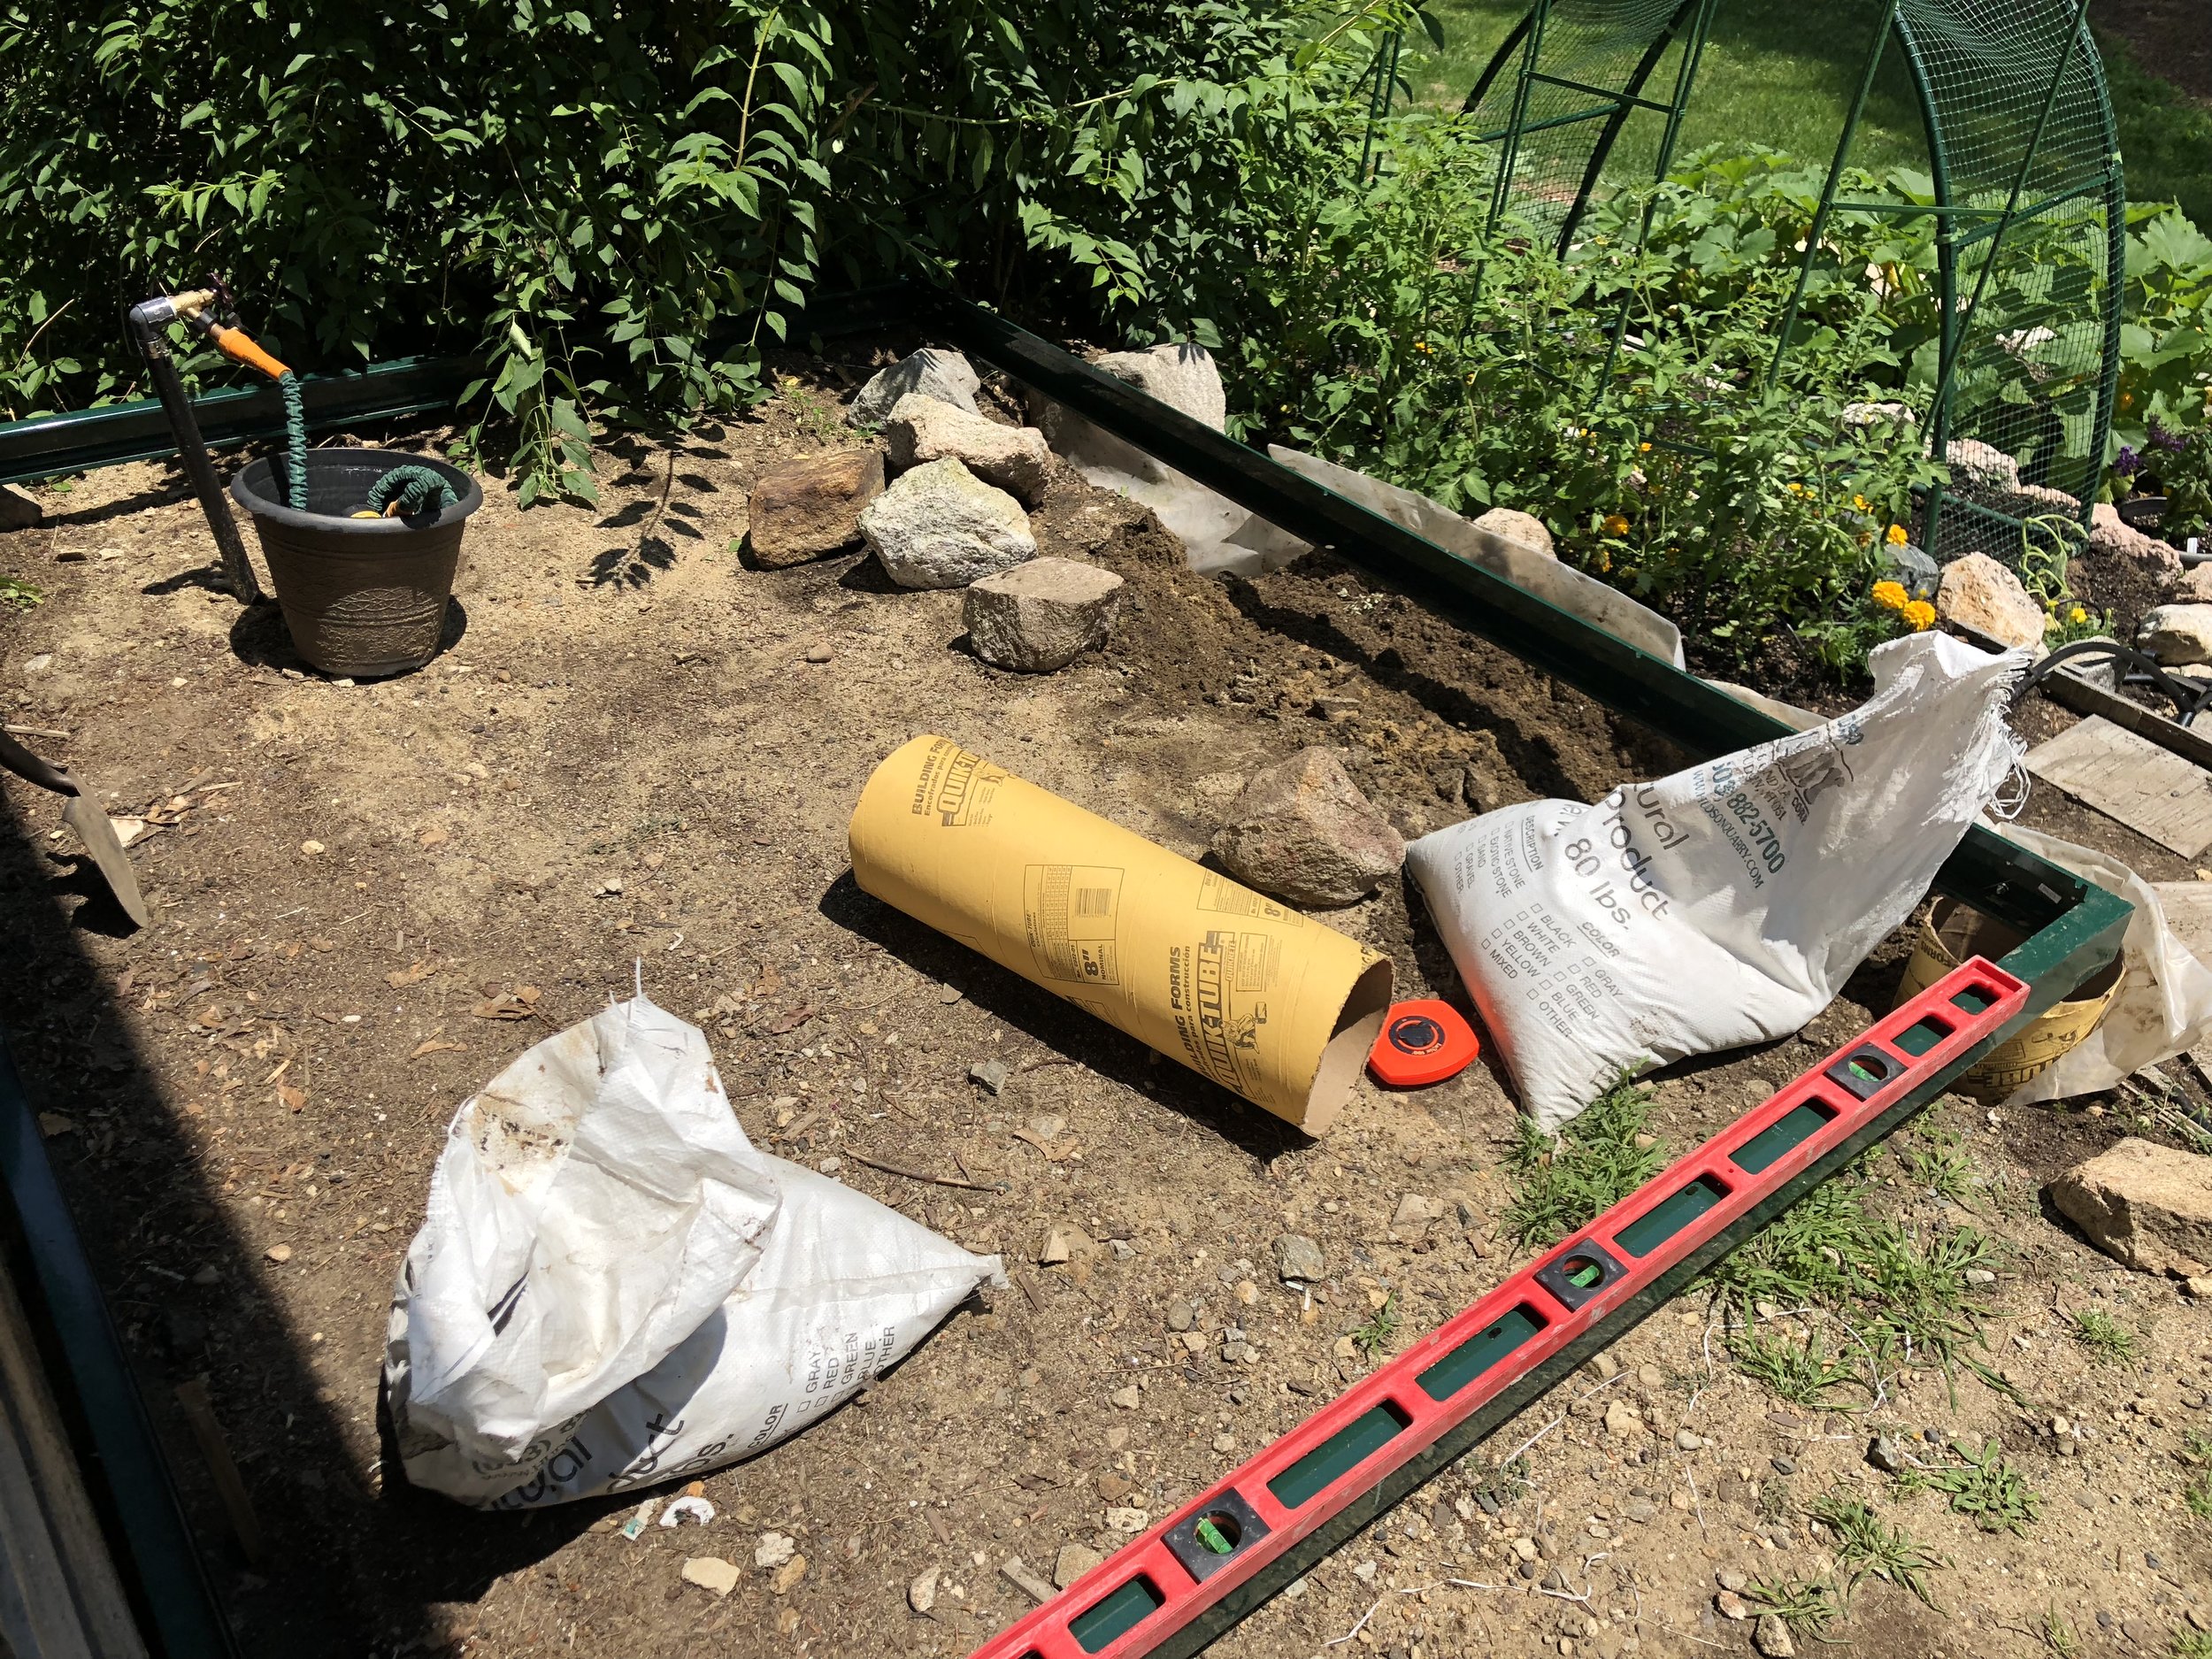
The earth anchor kit provides (10) 12" L-bolts that are sunken into concrete. Of these 10 anchors, I opted to put two of them into 24" deep cylinders. These are on the down-slope corners, specifically where the softened terraced earth might not be very stable. Since the greenhouse is exceptionally light, the anchors are more about keeping it from blowing away, and less about supporting it.
Here's the stainless steel base kit leveled, squared, and ready for concrete:
Day 1: Time for assembly! Start at the beginning... of the SIXTY-FOUR page assembly instructions. (Yeah, I was a little intimidated, but I wanted this pile of parts out of my carport.) My first day at this took about 6 hours. This included finding all the right parts (there are a LOT of parts), and learning all the tips and tricks of the kit. Plus a hundred water and subsequent potty breaks, since it's a million degrees out. But finally I had something that resembled the ends of a giant clear gingerbread house. I left these flat on the driveway overnight.


Day 2: Stand it up! The sides and roof went significantly faster... maybe because I had learned from all my Day 1 mistakes. Roof, sides, vent windows, gutters, sliding doors... all done in about 12 leisurely hours.

Assembly complete! I still have some finishing touches... the downspout kit, the automatic vent openers (they're cooling off in my fridge to retract the piston)... but it's pretty much assembled.


Now ready for a floor. The plan is to do pea gravel and pavers... but that's going to need to wait until next weekend. (Go see!)


Disposer and Dispenser
It’s the little things.
When my garbage disposal started to die, I figured it was a good time to deal with the awkwardly wired switch below the cabinet. The old disposal was hard-wired, with a switch box mounted to the vertical trim board between the two cabinet doors. Not a bad solution, but it meant that I couldn’t easily unplug the dispenser and plug in a new one. And I couldn’t simply plug in an additional appliance... say, an instant hot water dispenser.


Greenhouse
Time to get my grow on.
Time for a greenhouse! I have been talking about getting one for years, and I even bought the 5x5 Ocean State Job Lot deal last year as a proof-of-concept. (You can see it at the top of the terraced vegetable garden.) I love it. I love that I can go in there in the middle of winter and smell dirt. I can store all my different kinds of soil and compost and peat. I have a remote weather sensor inside, so I can see that on a sunny day when the deck temperature is 30, the greenhouse is 65. Love love love it.
So, yesterday I ordered the real deal. I chose the Grandio Element 6x8 Aluminum Greenhouse. I opted for the premium package, which includes:
- Earth anchor kit - creates a foundation for the greenhouse to be installed right on the ground.
- Steel base kit - Securely mount your greenhouse with one of our all-steel base kits.
- Plant hangers
- Automatic roof vent openers (2)
- Trellising kit
- Drip irrigation watering kit
- 8-oz panel cleaning kit
- Four frame-to-base brackets
Here's the catalog pic... mine will be mounted on the ground.
Then I also tacked on:
- Snow Load Kit
- Moisture Control Kit - prevent insects, dirt, mold and algae from entering the channels of your twin wall polycarbonate panels.
- Shade net
- Drain downspout kit
- Slatted Potting bench (2)
- Solid Staging table

Now it's sitting in the carport... a big pile of pieces and an assembly guide thicker than your average magazine. I'm a little intimidated.
That will be for a later post... go take a look!