
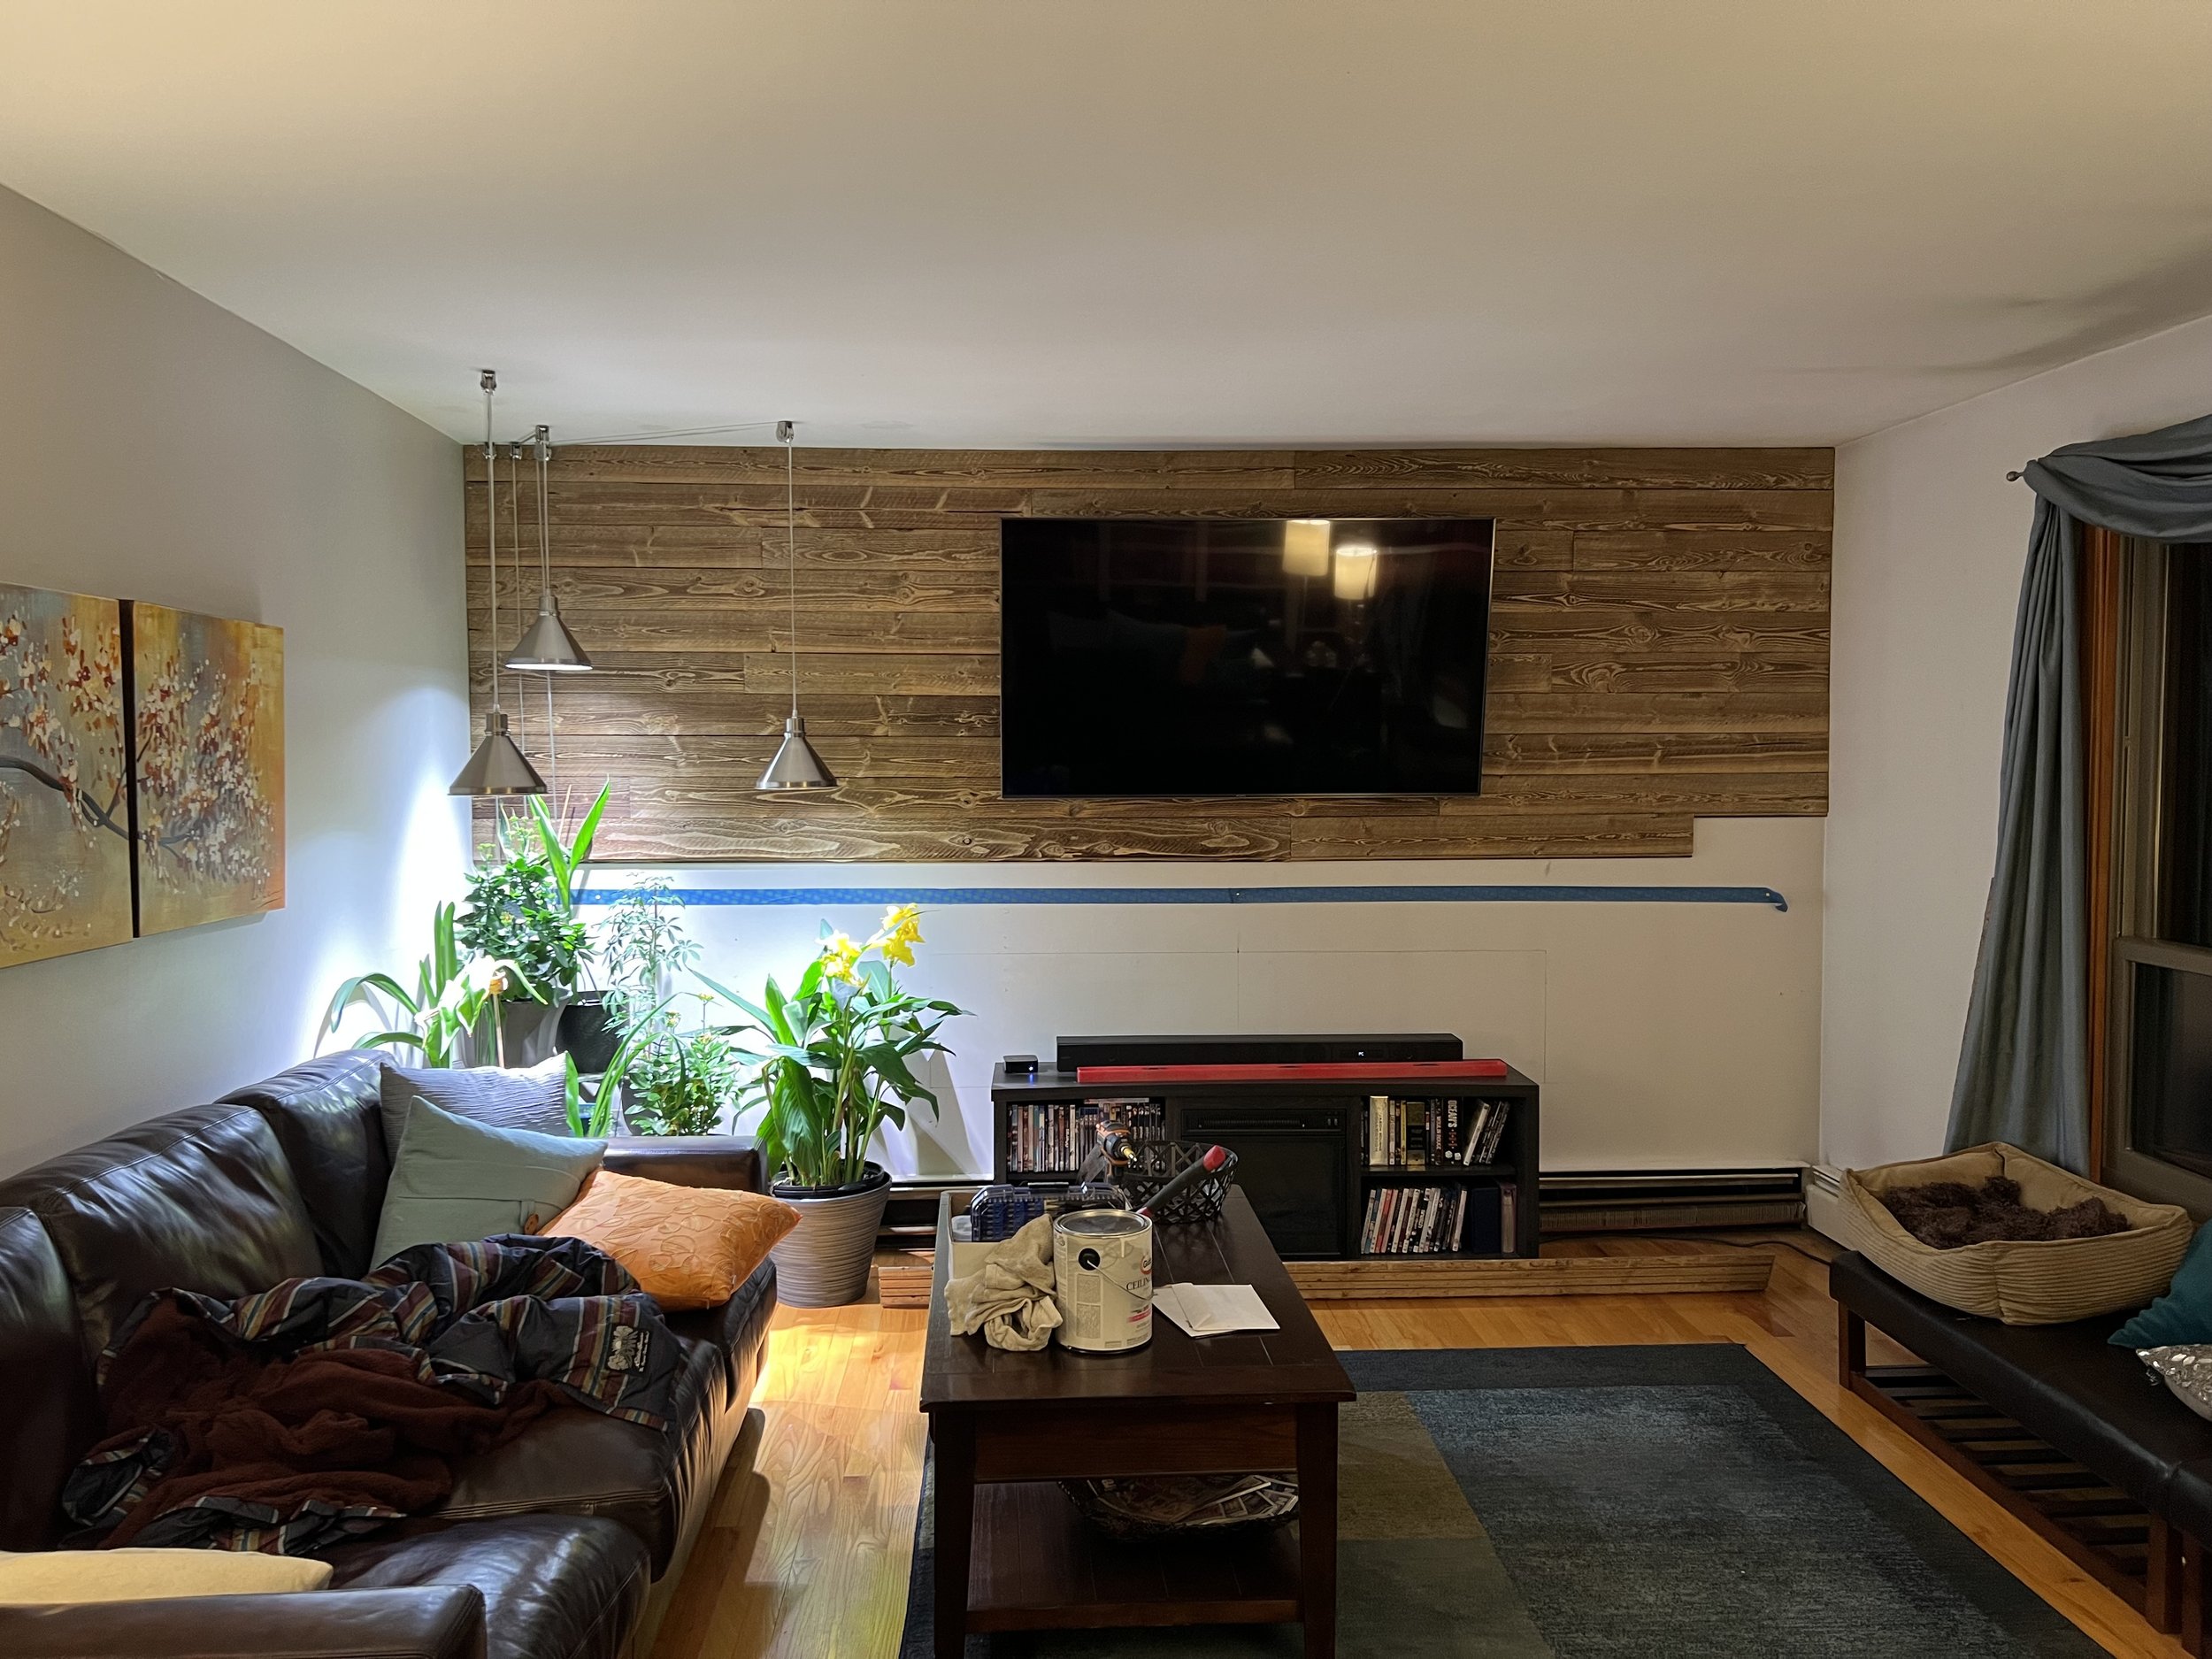
Barn Board and Fireplace
A barn board feature wall and electric fireplace adds warm ambiance to cold New Hampshire winters.
I knew as soon as I saw the living room that it needed a fireplace. I went through a few iterations, and ultimately decided to forego the lofty daydream of vaulted ceiling and skylights in favor of saving for early retirement and avoiding the glare on the TV.


What I didn’t know what what a pain in the butt it would be to vent it. The carport is just beyond this wall, and there are windows to the side, so the only solution would have been to punch a new chimney through my new-ish 50-year warranty roof. I’d really rather not. So: electric.
Leveling And Re-Leveling
Ugh, this was a pain. Of course my ceiling is not level… that would be too easy. Working above my head and on a stepladder, holding an 8-foot board and the level with one hand and the drill and screw in the other proved to be challenging. When the top row seemed to be level and straight, the second row proved that it wasn’t. Level actually turned out to be about 3/4” off from the slope of my ceiling.


Pull it down. Rip at an angle. Put it up again. And again. CRAP. Again. Well, close enough. Barn board isn’t supposed to be perfect.

I knew roughly the size of the fireplace I wanted, but needed to decide on the exact model before framing out the base cabinet.
Shopping and Procrastinating
Most electric fireplaces look like two-dimensional cartoon renderings of the Pits of Hades. Typical New Englanders use fire in their homes for survival… you know, to prevent us from having to climb inside the carcass of a newly-dead tauntaun. The idea of paying decent coin just to have it look pretty is absurd.

Dimplex IgniteXL

Modern Flames Spectrum Slimline
The selection of electric fireplaces is minimal. The selection of realistic-looking electric fireplaces is non-existent. And then I began my online obsession with Trevor.
Blazing Embers
Let me introduce you to Trevor’s YouTube channel. If you know me, you know I don't give a rats ass about online personalities or influencers or anyone else telling me what I should buy and how I should decorate. But Trevor’s videos offer up-close and in-depth looks at the features and aesthetics of the fireplaces, which is especially important because his shop - Embers Living - is thousands of miles away.
Modern Flames Orion Slim
Well, this one does the trick: the Orion by Modern Flames. It’s got a high-definition display combined with three-dimensional base (log & glass) media that combine to make a darn good looking fake fire. There are sparks and smoke and crackling noises, all without the actual bother of firewood, backdrafting, and cleaning out ashes. I opted for the Slim version, since I don’t need a multi-sided display, I benefit from having the black bezel cover the cut edges of the barn board, it’s not as deep, and it’s a decent amount cheaper.
I debated flying to Denver to see the units in person, since I know how misleading marketing videos can be. But after talking on the phone with a super-helpful employee (who even took a few additional videos for me), I bit the bullet. Also, it turns out that Independence Day is a good time of year to look for sales on fireplaces. It arrived in just a couple of days.

Base Cabinet
Now that I’d bought the fireplace insert, I could start work on the frame. I treated myself to a laser level, and was delighted to see that my prior work wasn’t half bad.
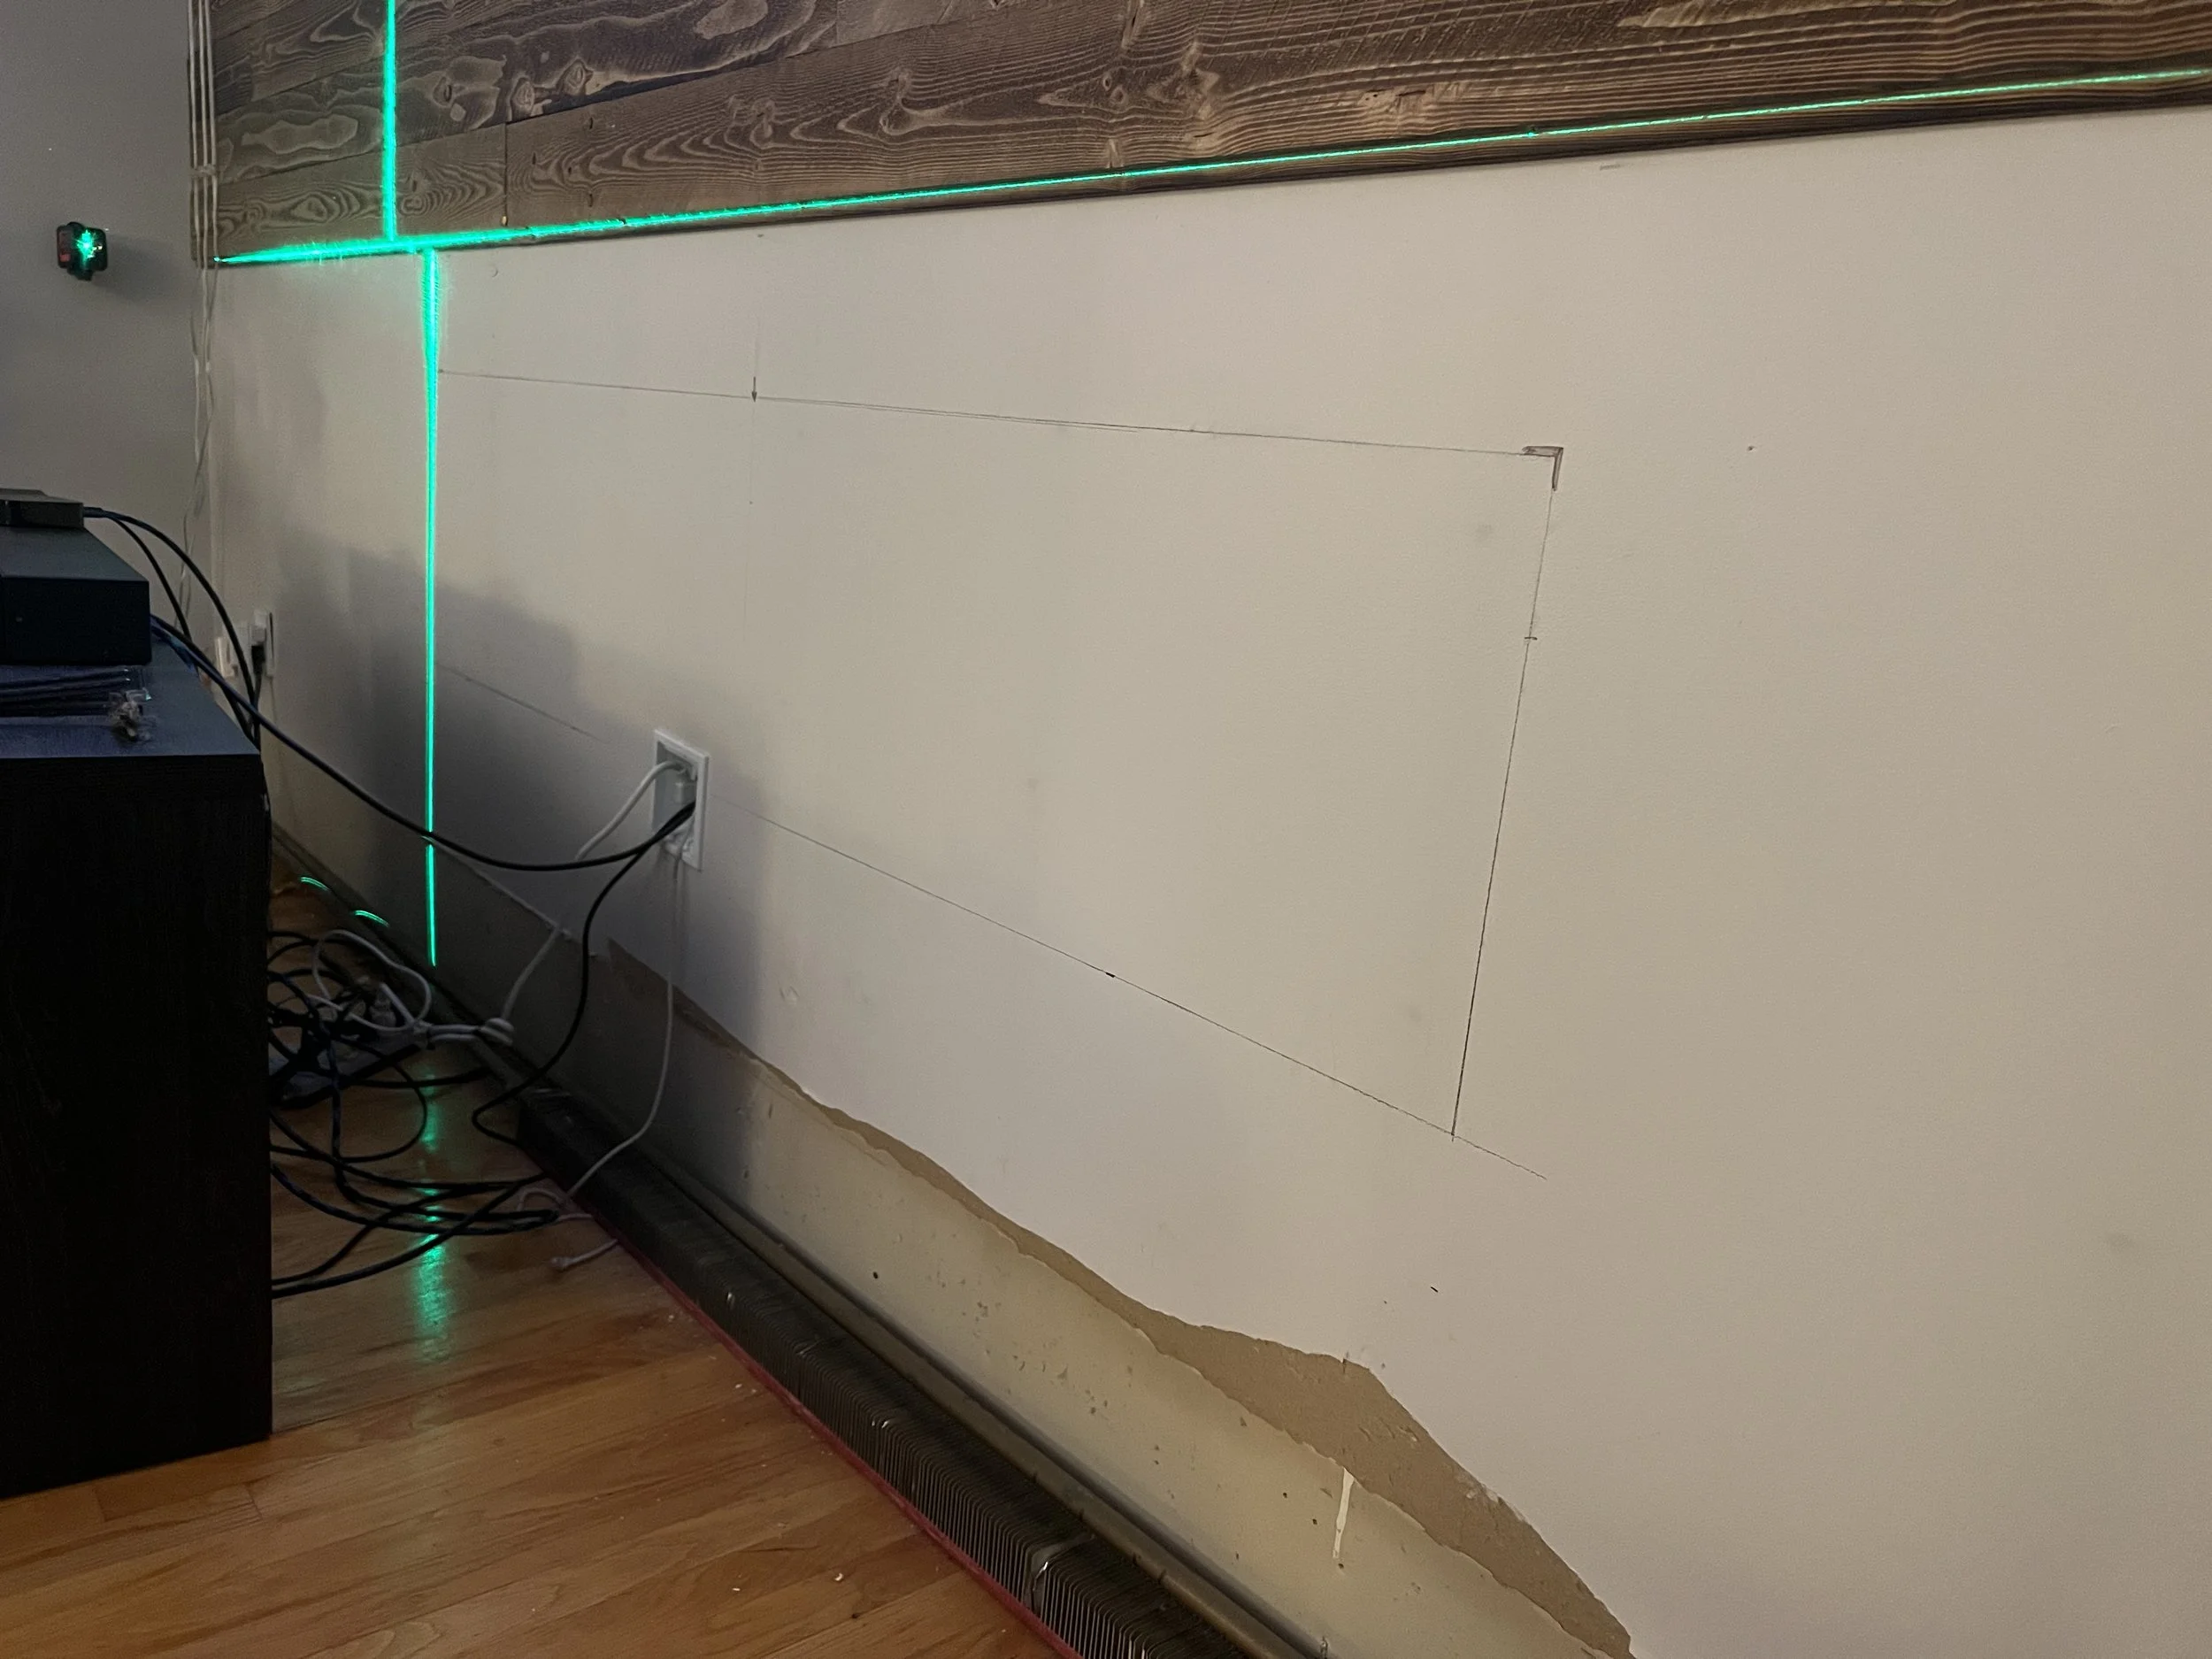
I built the frame intentionally off-center, to account for the asymmetry of my living room. I also planned to create a vent at the bottom with insulation preventing the baseboard heat from rising up into the cabinet. I ended up not needing to vent it (more on that when I explain the demise of my oil boiler), so I left the bubble insulation and auto-grille mesh in place, but covered by barn board. It’ll be a nice mystery for the next homeowner to solve if they ever open up the cabinet.


Nearly Done
My air conditioner is on full-blast, and I’m sitting in front of the fire. I love it already.

Mantle Plans
My initial plan was to get custom-cut soapstone blocks, 18” wide, 13” deep, and 1.5” thick. Heavy, but not so big I can’t lift them up to reach the electrical cords inside. I built my fireplace frame with blocks every 18” to make sure the stone is supported on three sides. They can be cut with such a precise square corner that I can set them in place touching, and not have to grout the cracks.
I might still do stone someday. But with other budget priorities, I figured I’d get a placeholder material so at least my plants have a place to sit.
I stopped by a local lumber yard that carries beefy rough cut boards. After a couple coats of semi-transparent stain, the board set in place, and now I love it so much it might live there forever.


Farmhouse Kitchen example from the showcase of Vermont Soapstone Company.

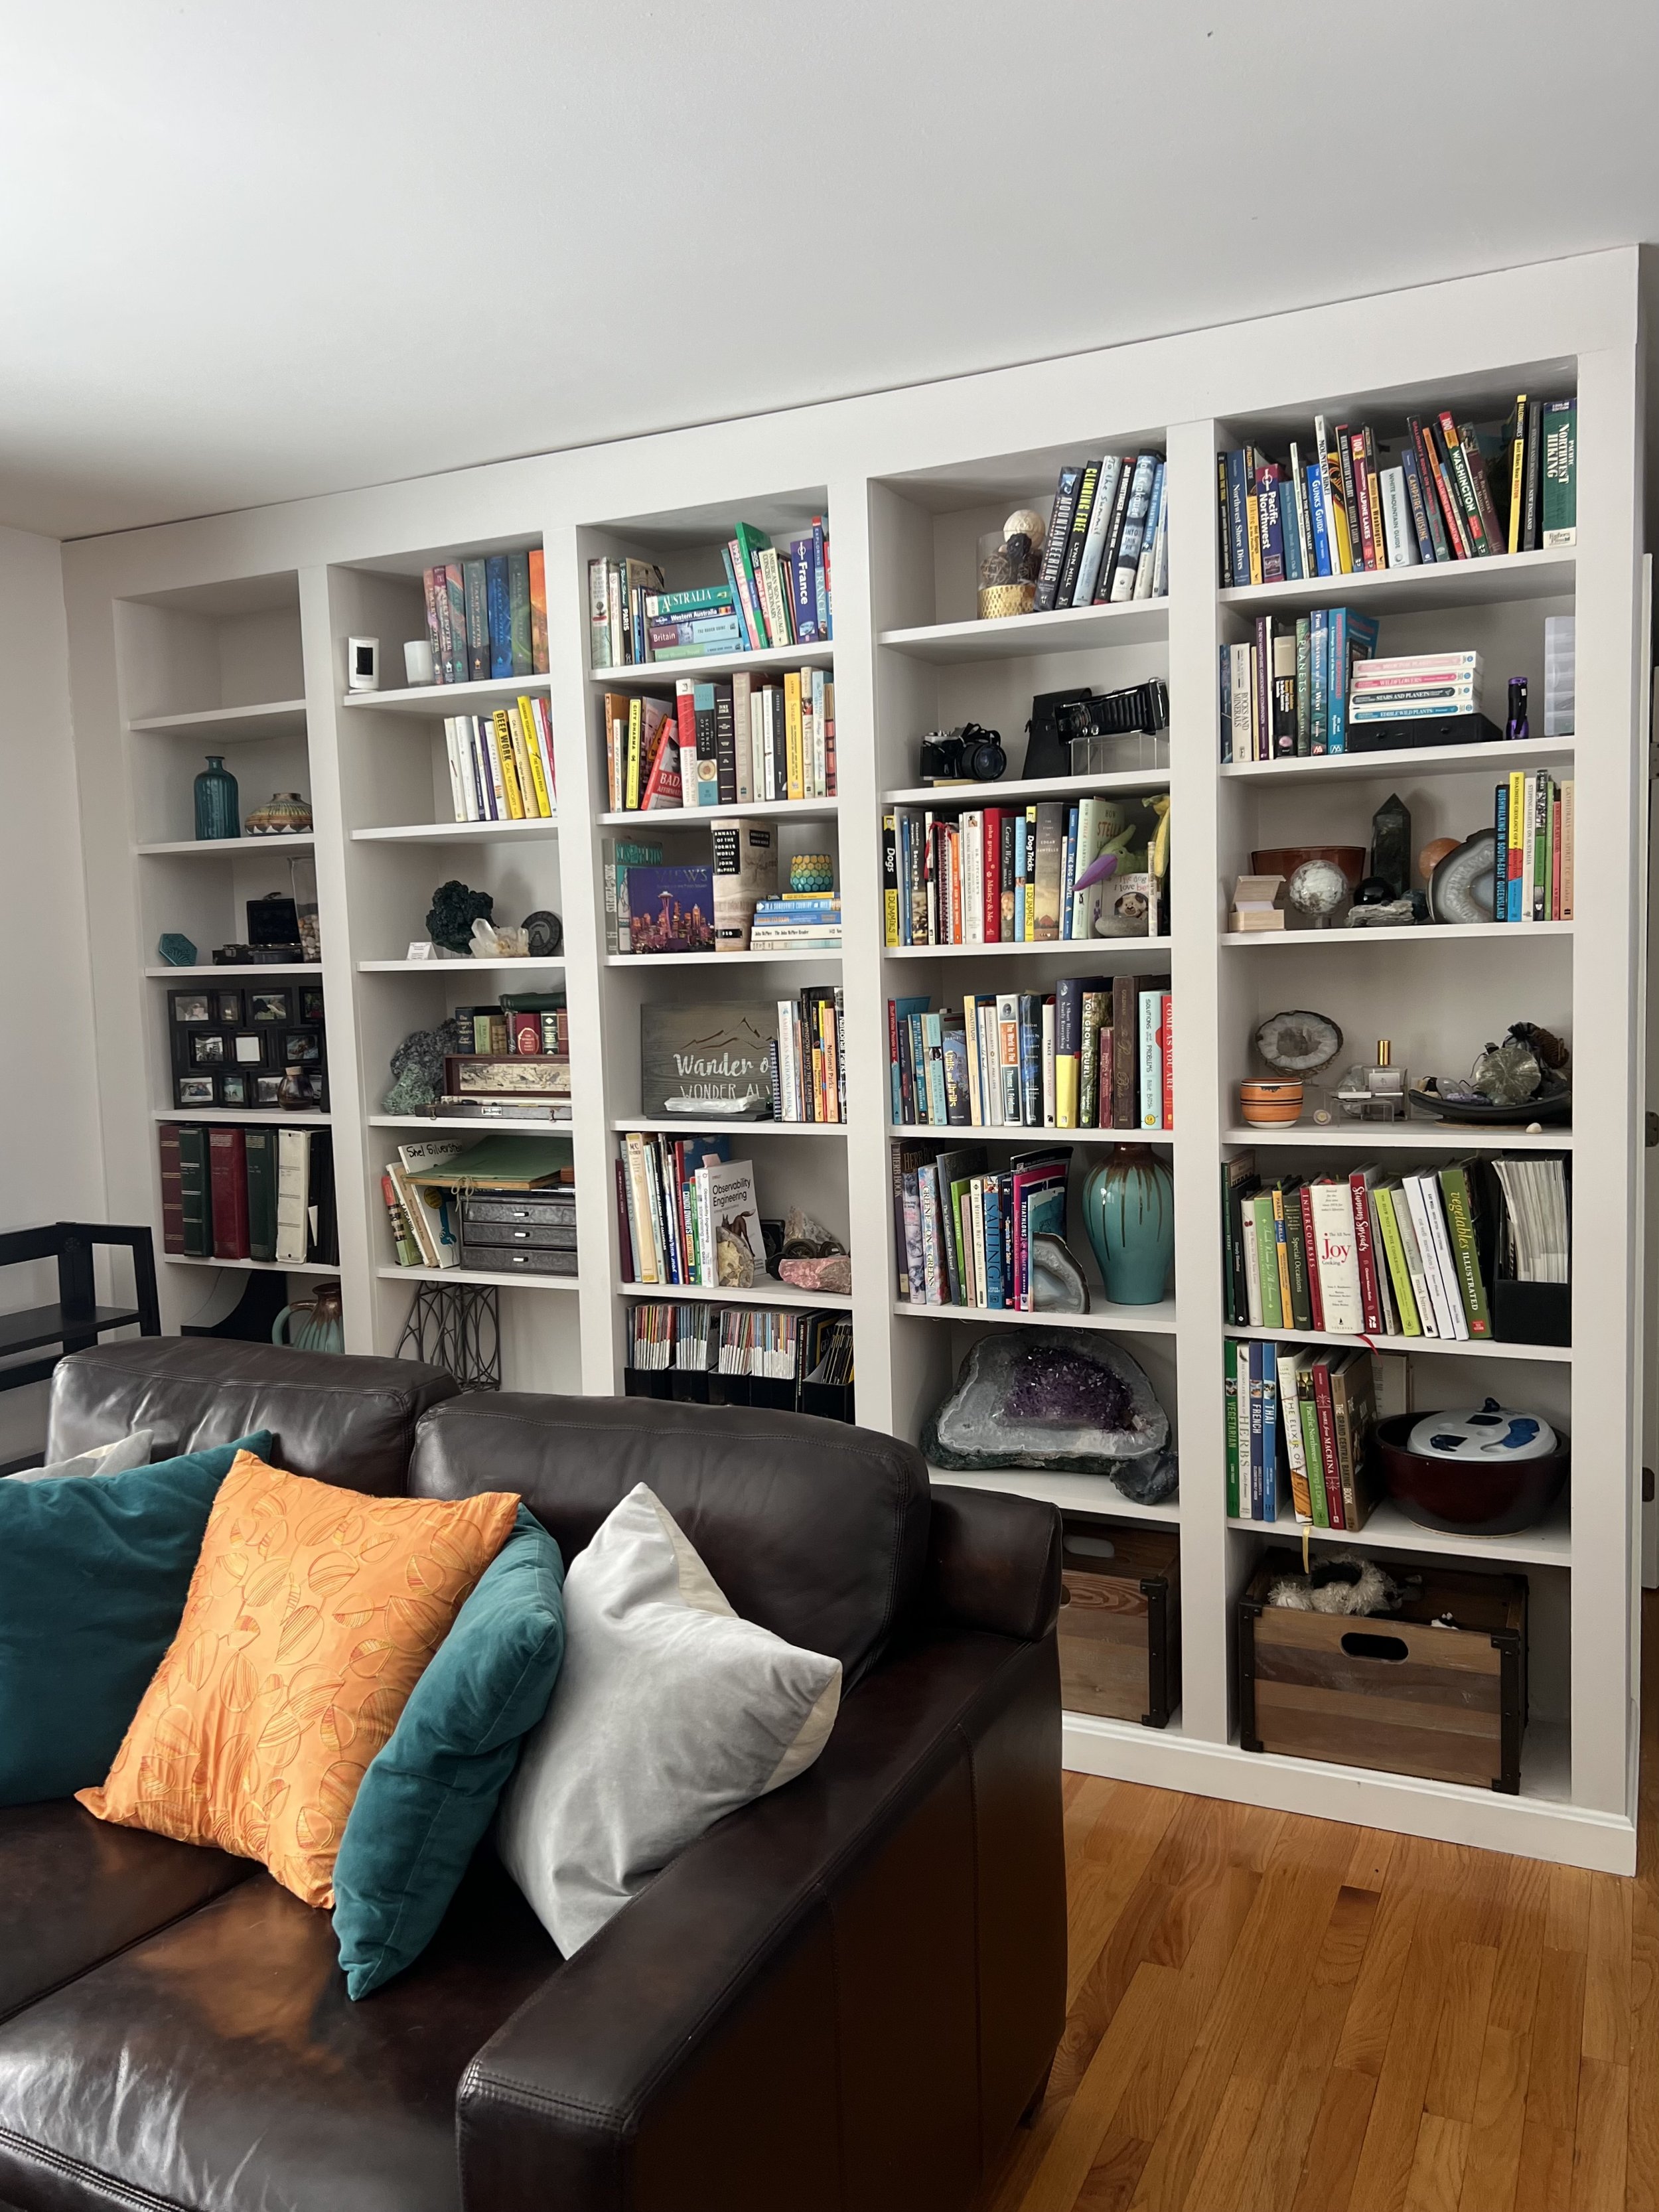
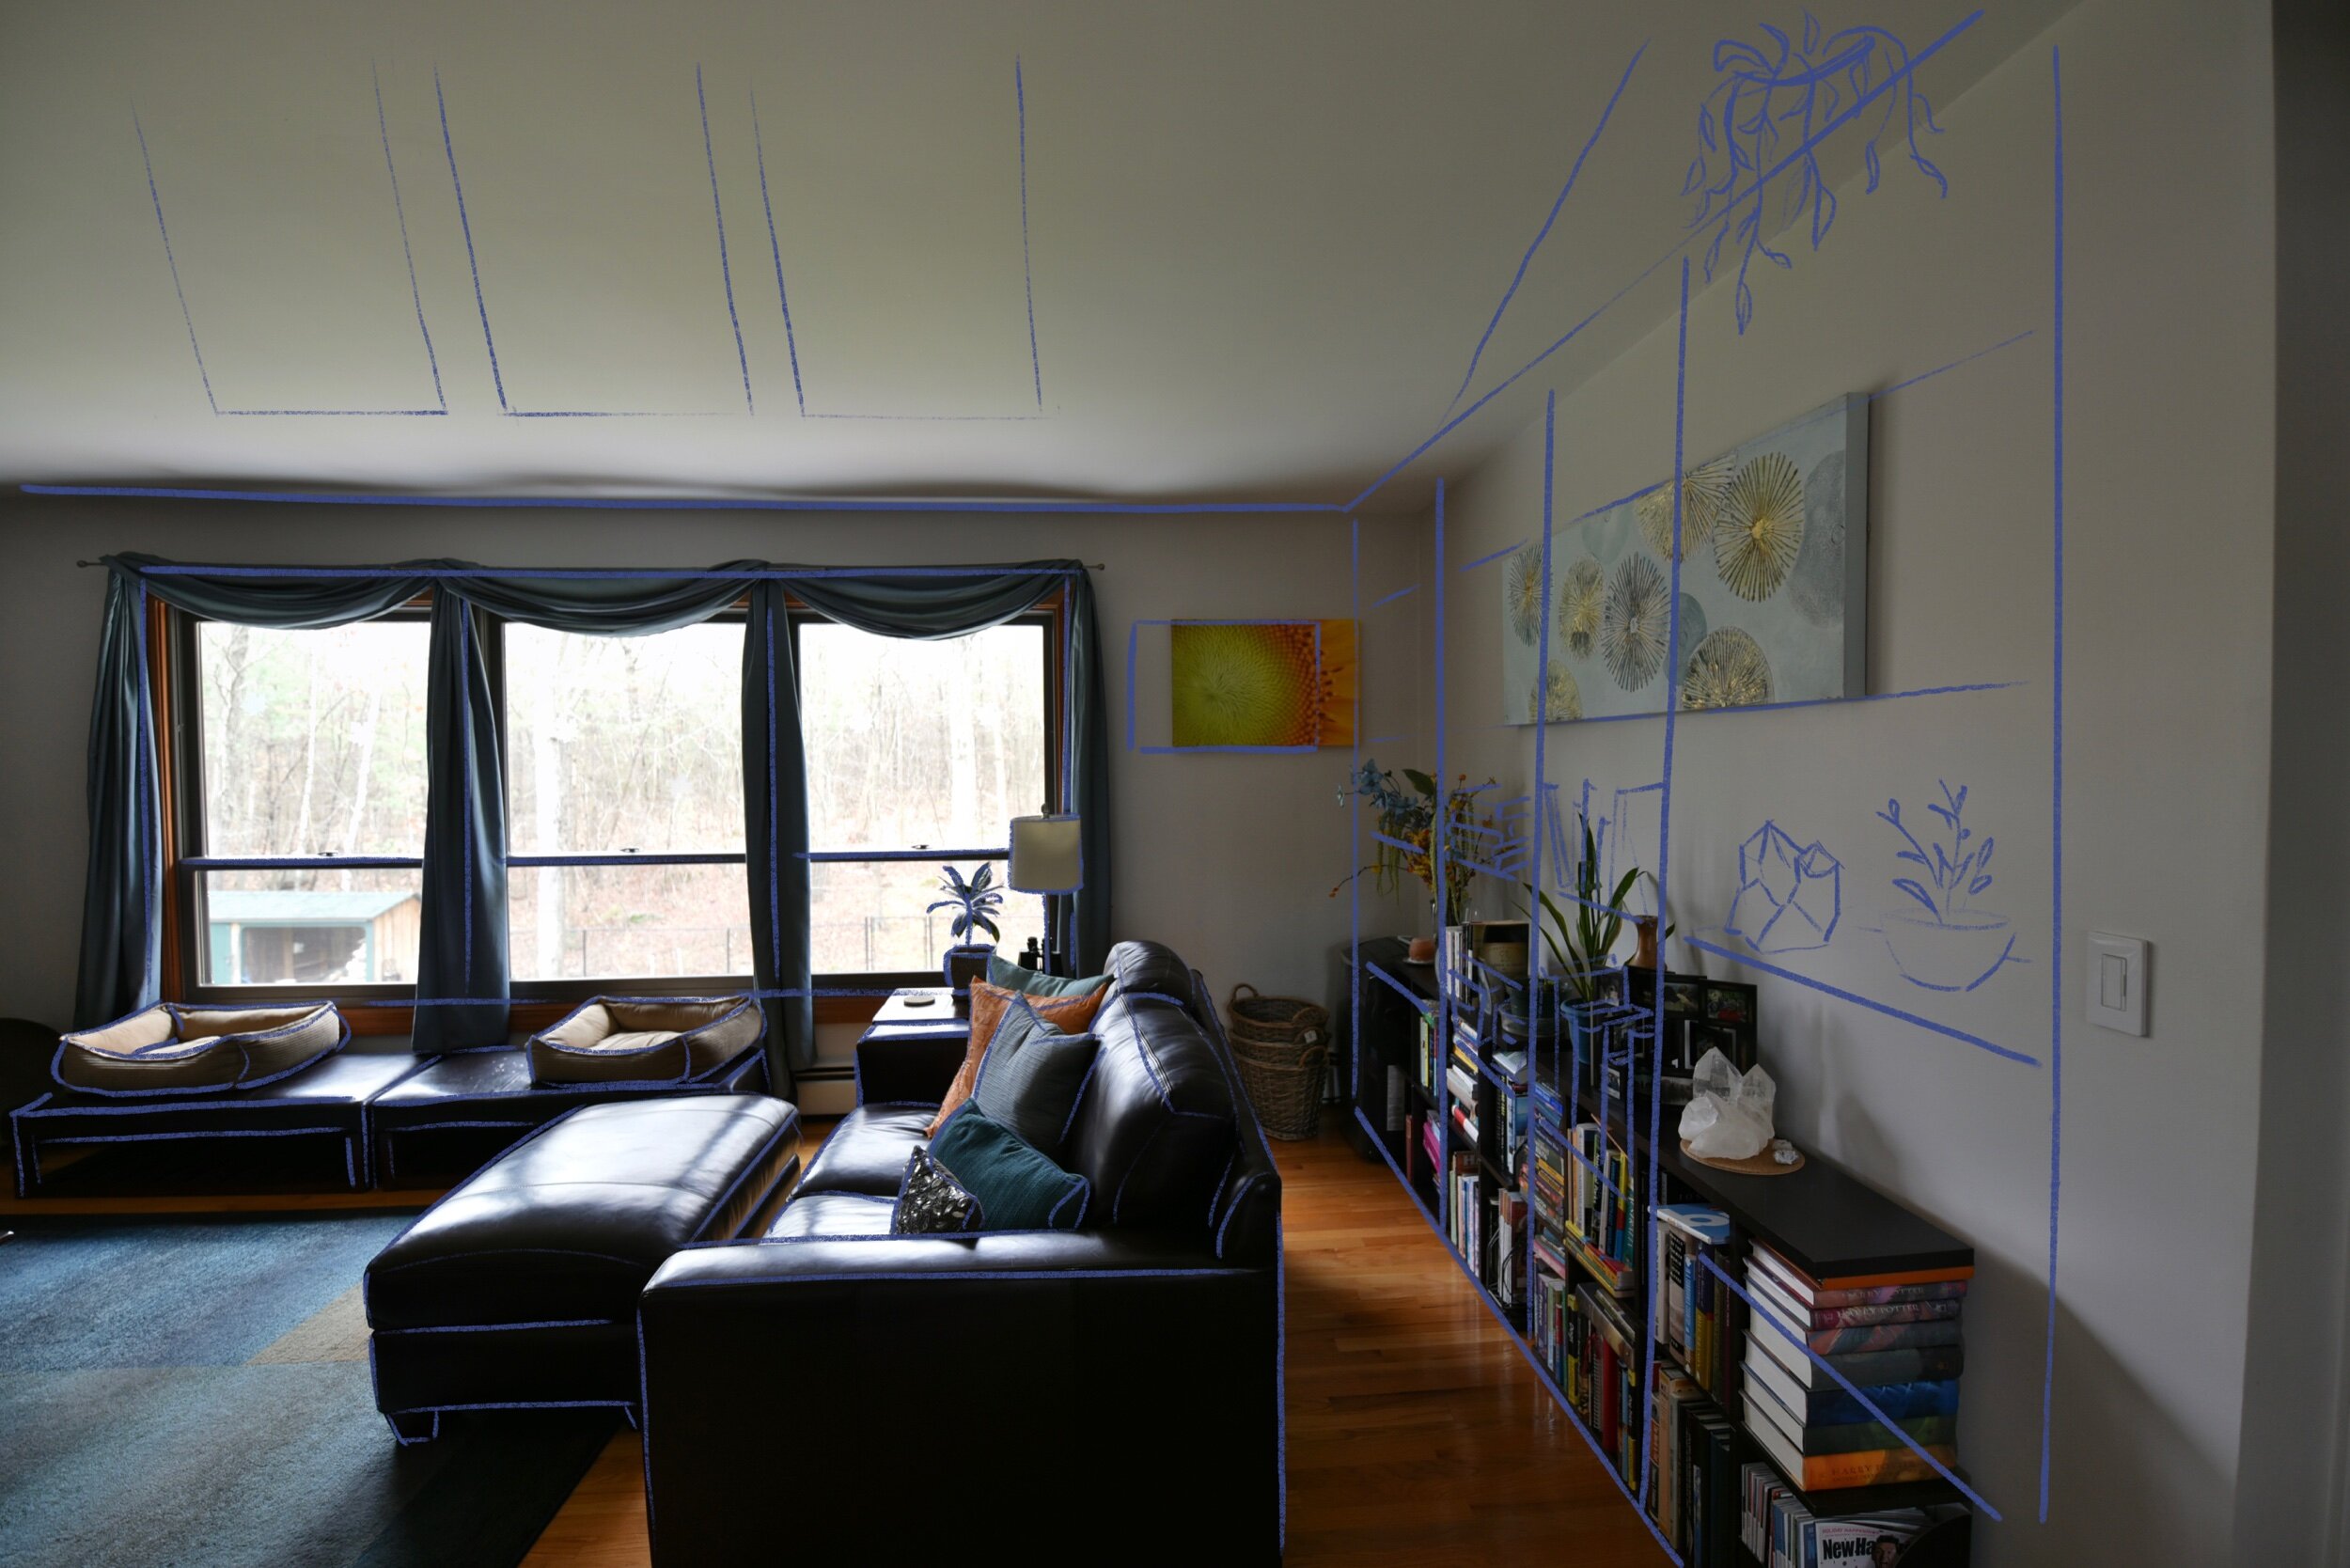
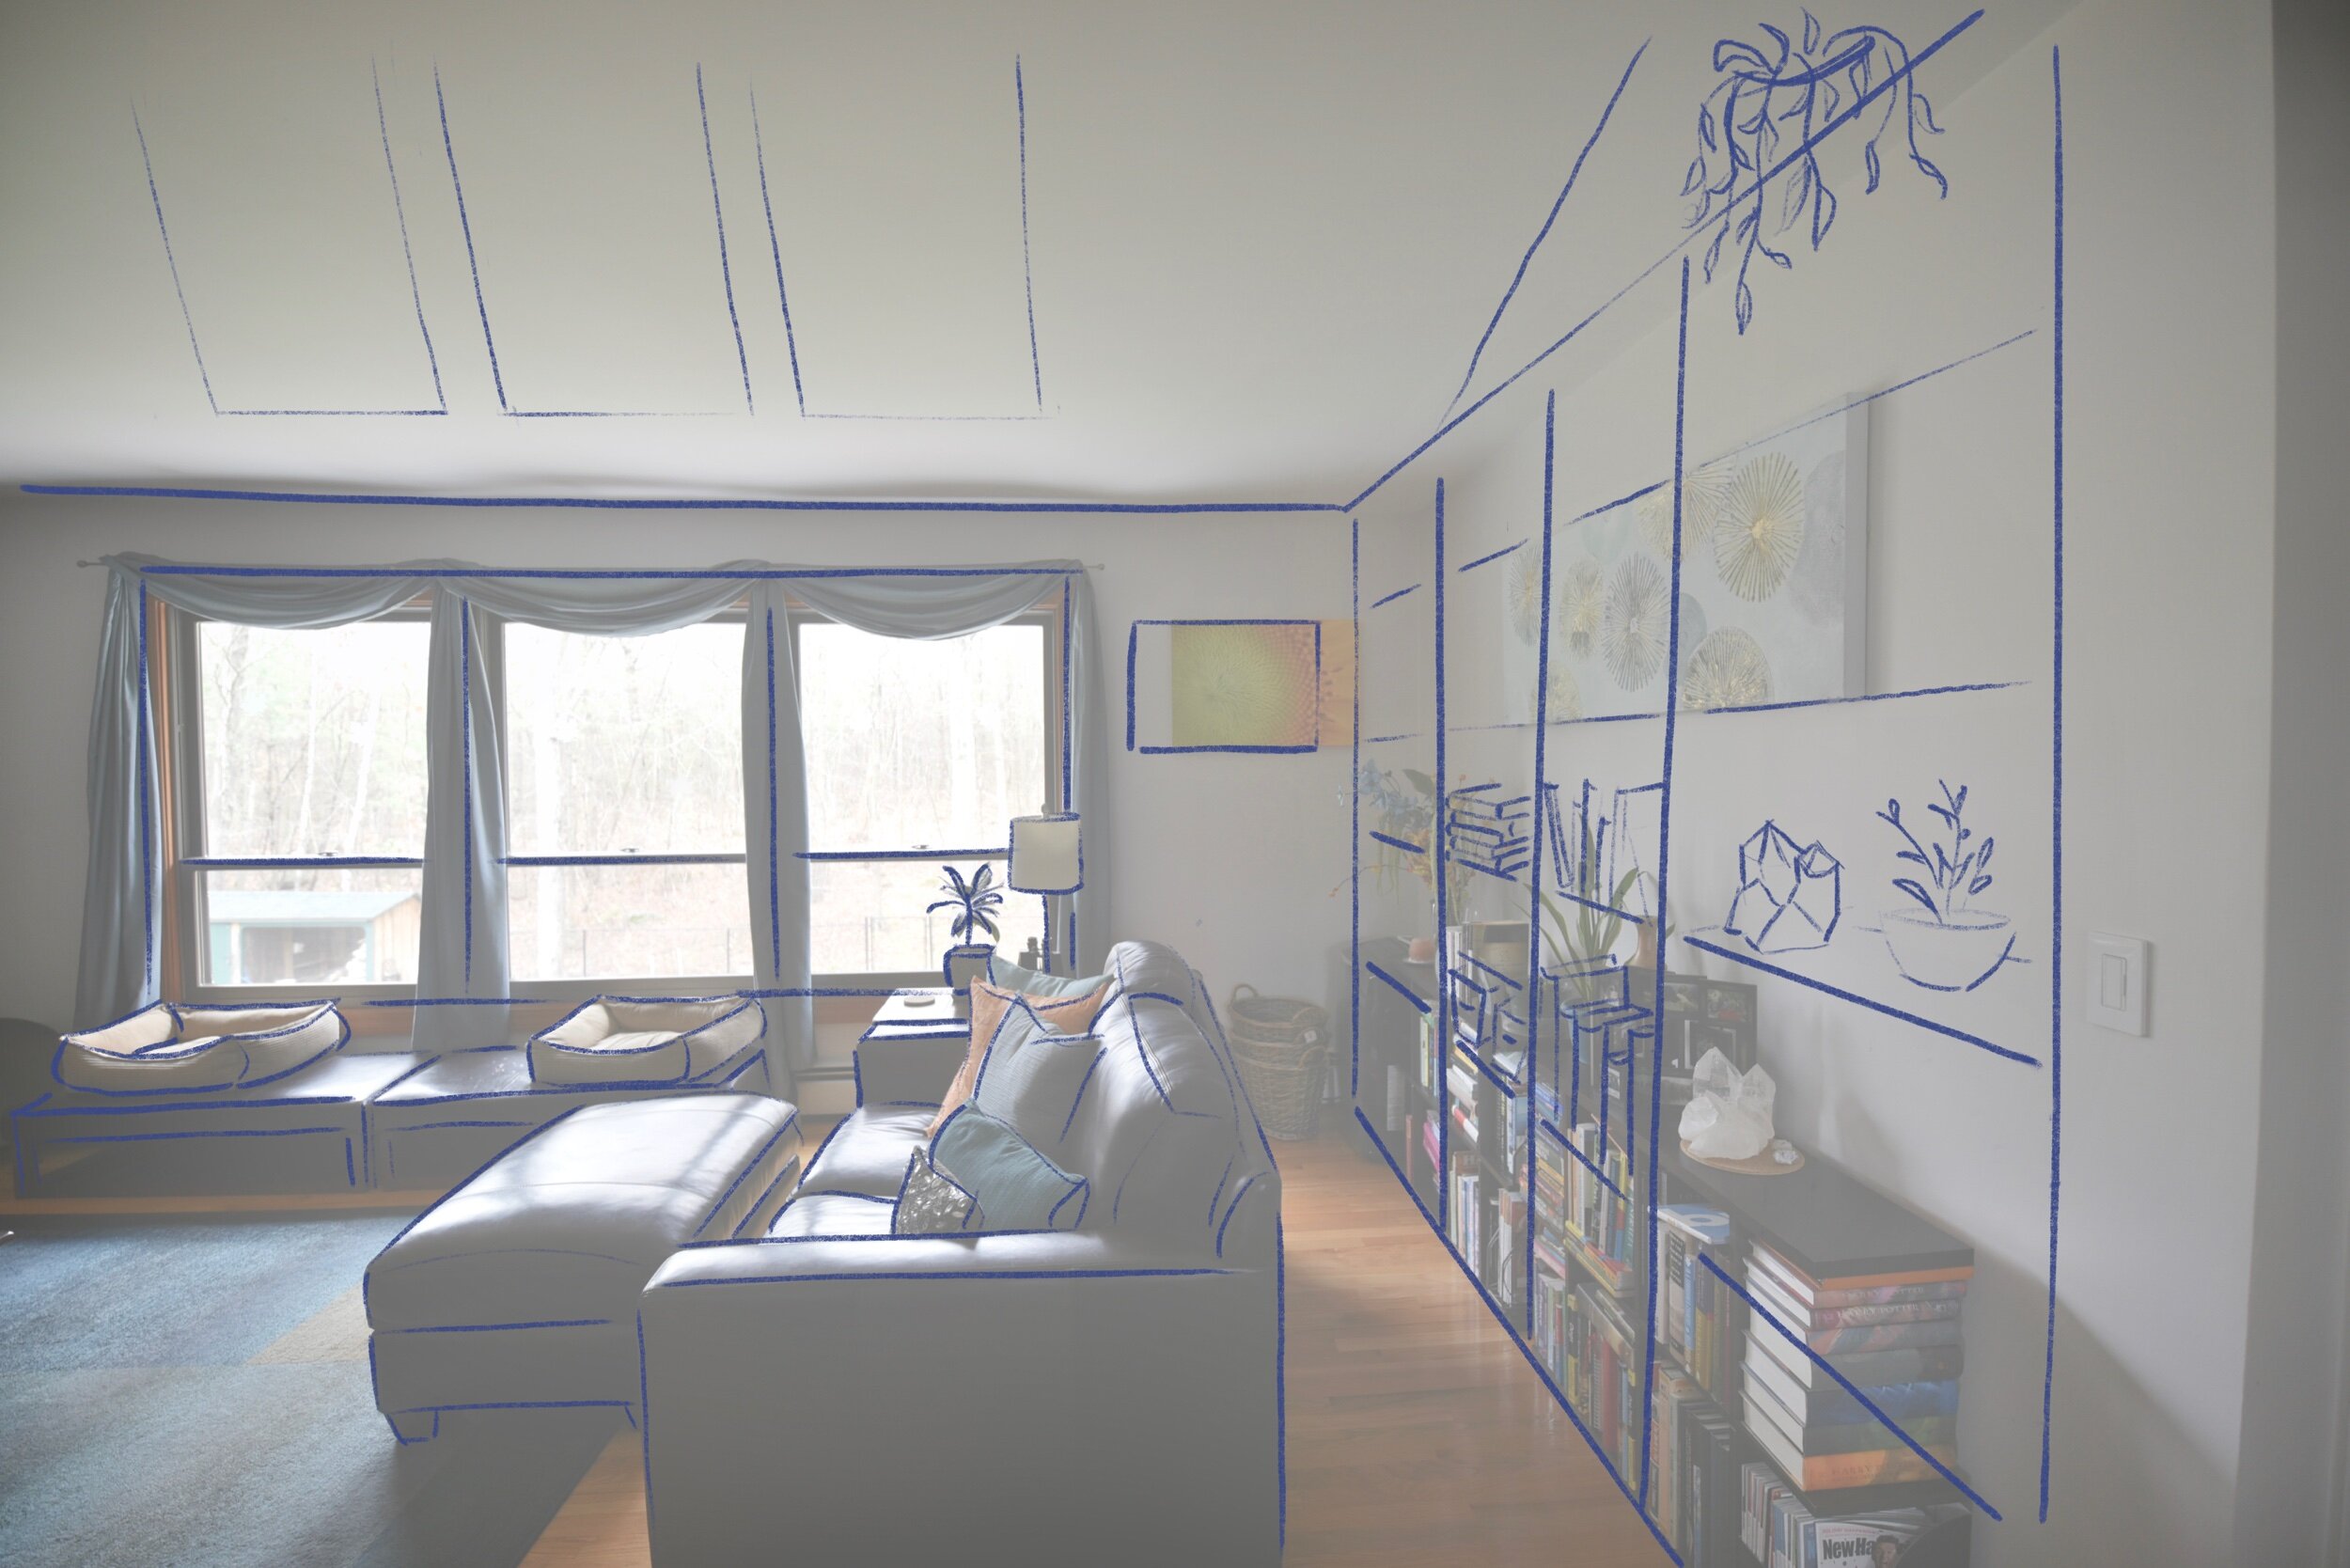
Living Room Bookshelf Wall
Floor-to-ceiling built-ins offer display storage and tighten up the expanse from love seat to TV.
My long living room begged for a floating love seat to shrink the TV-viewing distance, and I was left with a dead zone. The particle-board bookshelves that fit perfectly under the windows in my condo served the purpose in my new living room… until they didn’t. Stacks of books grew up the wall, just waiting to slide onto the floor. Time for a permanent solution.
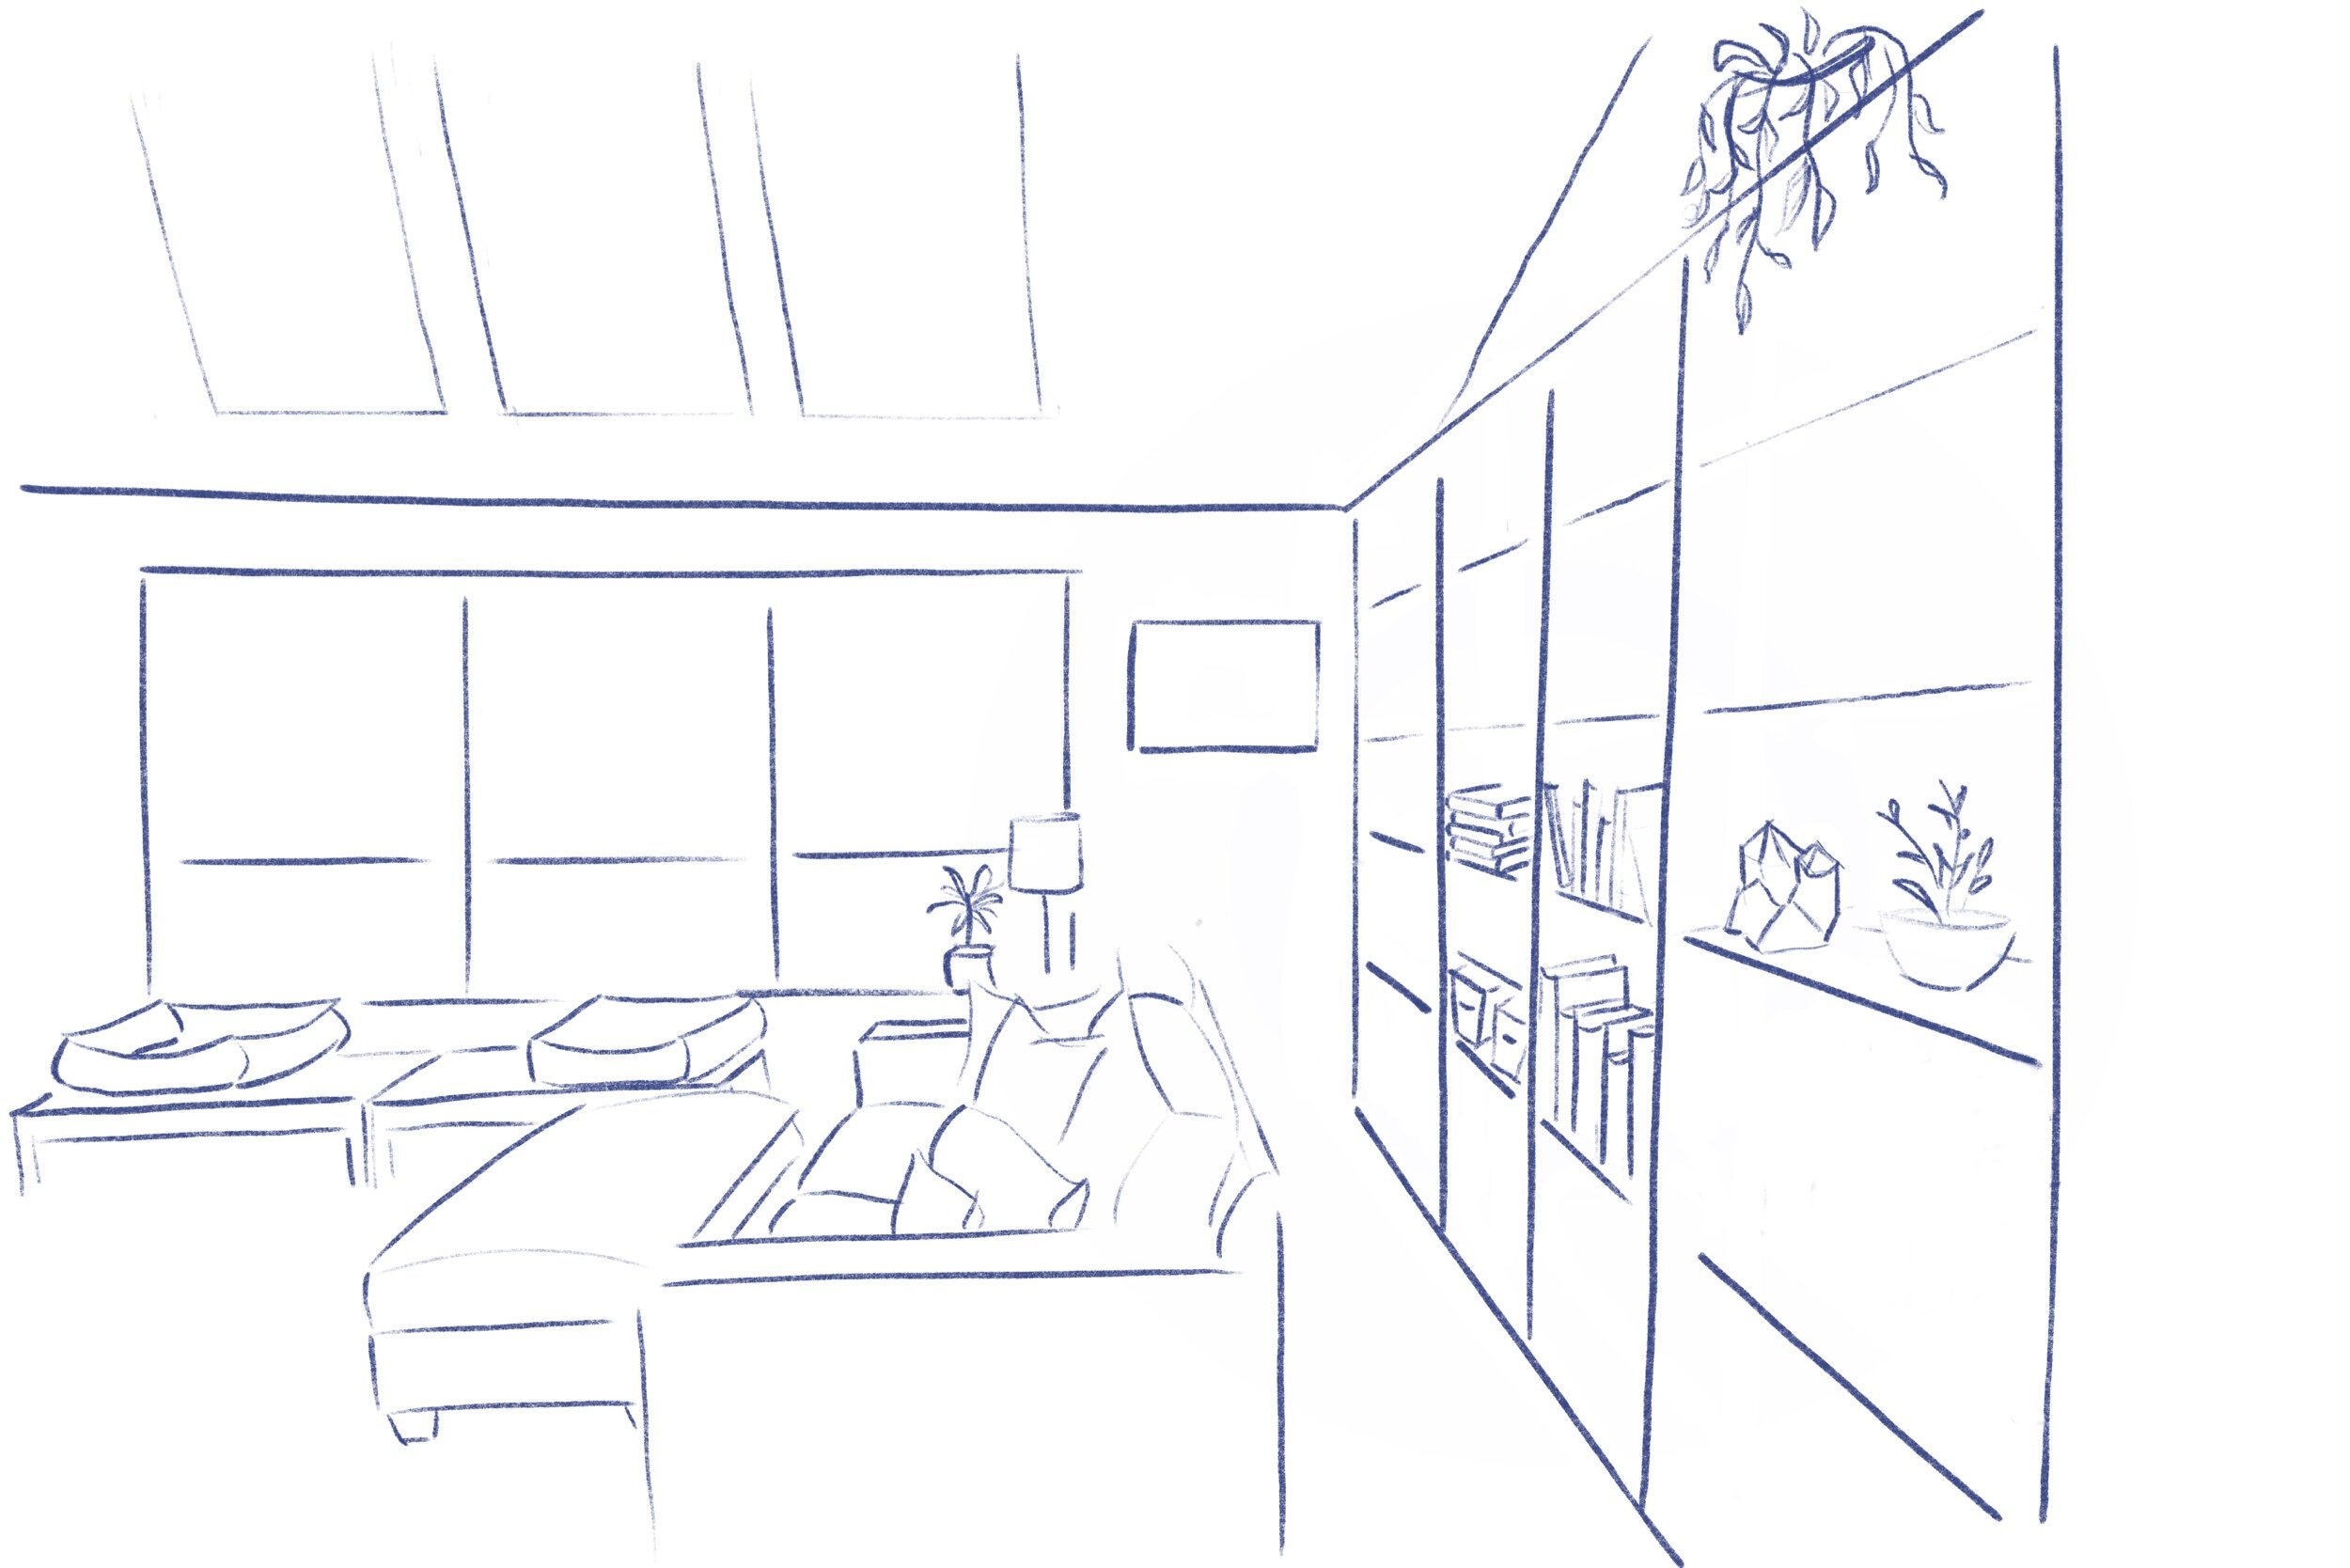
Mockup
The back wall of the living room with sketch overlay of floor-to-ceiling bookshelves. (Also sketched is the fantasy vaulted ceiling with skylights, but that’s a project for another time.)
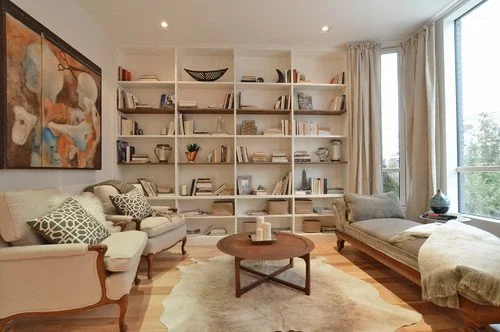
Inspiration Photos
Ideas that might work… keeping it simple, so the shelves disappear and allow the contents to be featured. I like the idea of lighting, but not enough to wire every shelf.
Tutorials
I’m not blazing new trail here, so I looked online to find tutorials. Here are some of the ones I leaned on:
The Family Handyman: How to Build a Built-in Bookcase - I used this design for the boxed vertical supports, since the thickness gives the unit more substance. It also gives me space at the top to add picture lights.
Darbin Orvar: Built-in Bookcases and Cabinet Construction (part 1 and part 2) - I’ll use her approach of using the pocket hole jig to attach the shelves.


3D Model
I decided I wanted uniform, fixed shelves with picture lights across the top. I used Home Designer Suite to create the design. The wall is 126” wide. I’m planning on five 24-inch-wide sections, with the extra few inches used to accommodate the radiator and wiring on the left.
Side note: I had originally planned on installing a picture light at the top of each column. However, my chosen fixtures jumped in price by $50 each, so I reconsidered. Now that I see the completed project, I like it better without.


Getting Started
To prep the wall, I needed to remove the floor moulding and move the existing light switch to the inside of the stairwell. If I’d known how easy this part was, I’d have moved the switch years ago.


Since my vertical supports do not align with the wall studs, I installed a header board where the ceiling meets the wall. From there, I screwed in the vertical support spacers at 24” intervals.
I built up a platform to raise the bottom shelf up off the floor. The bottom shelf needed to be at least as high as the top of the floor moulding. I then started making sandwiches of the 2x2” supports and the 1x12” select pine boards, and screwing them to the pieces already attached to the wall.


Next: Shelves and shelves and shelves. Forty, to be exact… cut from 1x12” select pine boards and pre-drilled using a pocket-hole jig. Measured and leveled and squared again and again and again. Once they were perfectly aligned, I spackled the holes.
From bottom to top, the spacing measures 15”, 12”, 12”, 12”, 10”, 10”, 10”.


I mudded over the exposed end using joint compound, going slowly with thin layers to avoid cracking and sinking. I sanded between each layer, creating a nightmare of dust in my house… but I’m hoping it’ll be worth it. I added plain vertical trim to hide the sandwich-edge of each vertical support, and a horizontal piece across the top. The bottom will get floor moulding to match the rest of the house.
At this point I also got antsy to start painting. I know, I know… probably a bit premature. But it was fun to start seeing my vision appear. It also helped me see where I needed additional caulk to make up for my less-than-perfect carpentry skills.
I later heard the quote: Do your best, and caulk the rest!


It’s really starting to take shape now that it’s painted with Behr’s Crème de la Crème to match the living room, and loaded with a bunch of my books and knickknacks. I added rustic crates from Plow & Hearth to collect other odds and ends. I’ll have to wait until lumber is back in stock before I can finish the last of the shelves, but for now I’m quite pleased with how it came out.
Next up: clean up the gap where the shelves meet the ceiling, and elsewhere in the room where the ceiling joints have cracked and warped… which of course will lead to a ceiling re-paint!

The Pergola
A covered outdoor area for lounging and entertaining.
I have been thinking and imagining a pergola since I fell in love with one I saw during the house-hunting adventures of 2013.

When I moved in, the lower yard had a pile of rocks, an ugly bush causing blackened stains on the siding, path of pavers (removed in this pic leaving grass-less holes) leading half-way into the yard, another bush blocking the windows, glaring white concrete retaining wall, and screen room on stilts.

Patio, furniture set, painted concrete, grill, dining set. To see more about the in-between steps, go read my posts about the herb garden, patio, painted wall, and screen room demolition.

Hole dug for the footings revealed a stepped foundation… perfect for ensuring that the pergola (which will be bolted to the house) is on the same solid ground as the house itself.

Concrete poured in a box shape to level up the footings.

Concrete deck pier supports the post above the ground to prevent the wood from rotting in the wet soil.

Large 7x7” posts are hand-chiseled down to 4x4” to fit into the concrete pier supports.

The post is bolted into the ledger beam (the supporting member that holds up the floor of my house) with a tempered aluminum Maine Deck Bracket. This will stabilize the post, even though it is not expected that any additional weight load will be added to the ledger. The 7x7 vertical post and 4x6 horizontal beam are dadoed together.


Next came the three front posts… the approach was to use 8” Sonotubes, since we didn’t have to contend with the foundation of the house. The entire outline was done… and then came the ‘oh sh*t’ moment. We had intended to make the pergola overhang the posts by about a foot on each side, for a total width of 22’ feet. As you can see in this picture, the beams don’t stick out past the posts. #%@#%
So, after a restless night’s sleep, Marc suggested a plan. He would replace the beams at the rear, since those were held in by a few bolts that could be easily undone. He cut new, longer beams.
The beams at the front presented a different problem, since the angle brackets had all been custom cut and toe-nailed in. He bought heavy-duty metal brackets (600-lb load rating) and affixed an extension to each end. The 45-degree supports add additional stability. Once all the rafters and decorative flourishes are added, no one will ever notice.

Back replaced with longer beams.

Front extensions.

The center beam is smaller (4x3”) and slightly higher than the outer beams to allow extra head clearance if I want to attach a light fixture someday. The horizontal center beam is cut into the vertical post, and the black metal bracket held the joint together until the rafters could be installed.
Close to done… next week the ends of the rafters will be trimmed and shaped, the patio pavers will be cut to fit around the post holes, and the plexiglass roof will be added.

For now, it’s done enough that I can put my feet up and shop Amazon for cafe-style string lights. (Edison bulbs on the way!)

My back yard setup is taking shape.

Arguably the most important accessory.

Second most important: hanging cooking tools away from curious dog tongues.
Swing seat (cushions forthcoming)

Fitting patio blocks around the posts and slab.

Front posts have trim to hide the concrete posts.

Edison bulb cafe lighting.

Rafter ends trimmed and shaped
Next it was time to get the clear polycarbonate ordered… giant sheets (6’ x 9’8”) of 1/4” Lexan. Extra strong to hold the weight of snow, and clear to let the morning sun shine into my office.
This introduced a new pain in the butt… apparently ordering 6’ wide sheets of Lexan gets you sheets that are cut at the factory at precisely 6’ and 3/4”. Which means that rafters positioned exactly 24” on-center are now a little too close together. ARGH. Rather than send these giant heavy sheets back to the glass supplier, Marc (my carpenter) grabbed the closest crowbar and yanked out a few rafters and moved them just slightly… so, if you were to climb up there with a measuring tape, you’d find that the span is no longer a perfect 24”, but roughly 25” on one side and 23” on the other. This is the kind of stuff that makes a perfectionist nuts, but I know it’s not going to bother me… until the next time I order 6’ sheets of Lexan from a place that actually knows how to measure.


Greenhouse Part 3: Gravel & Pavers & Gadgets
Now that the greenhouse is assembled, I'm anxious to get it decked out with good drainage flooring and other fun toys.
Now that the greenhouse is assembled (go see that post), I'm anxious to get it decked out with good drainage flooring and other fun toys.
I figured I'd need about a yard an a half of pea gravel, so of course I ordered two. And a pile of pavers. I've probably used less than half of the pea gravel... but I plan to use it outside the greenhouse as well, so I figured I'll see how far it goes and then top up the greenhouse floor with whatever I have left.

More bells & whistles...

Automatic vent openers

Fold-out potting bench with running water

Bushel basket from the local farm stand to hold all my veggies and herbs, plus suction cup hangers to stow my hat & apron.

Bins for potting soil, composted manure, seed-starting medium, and whatever else.

Wireless thermometer


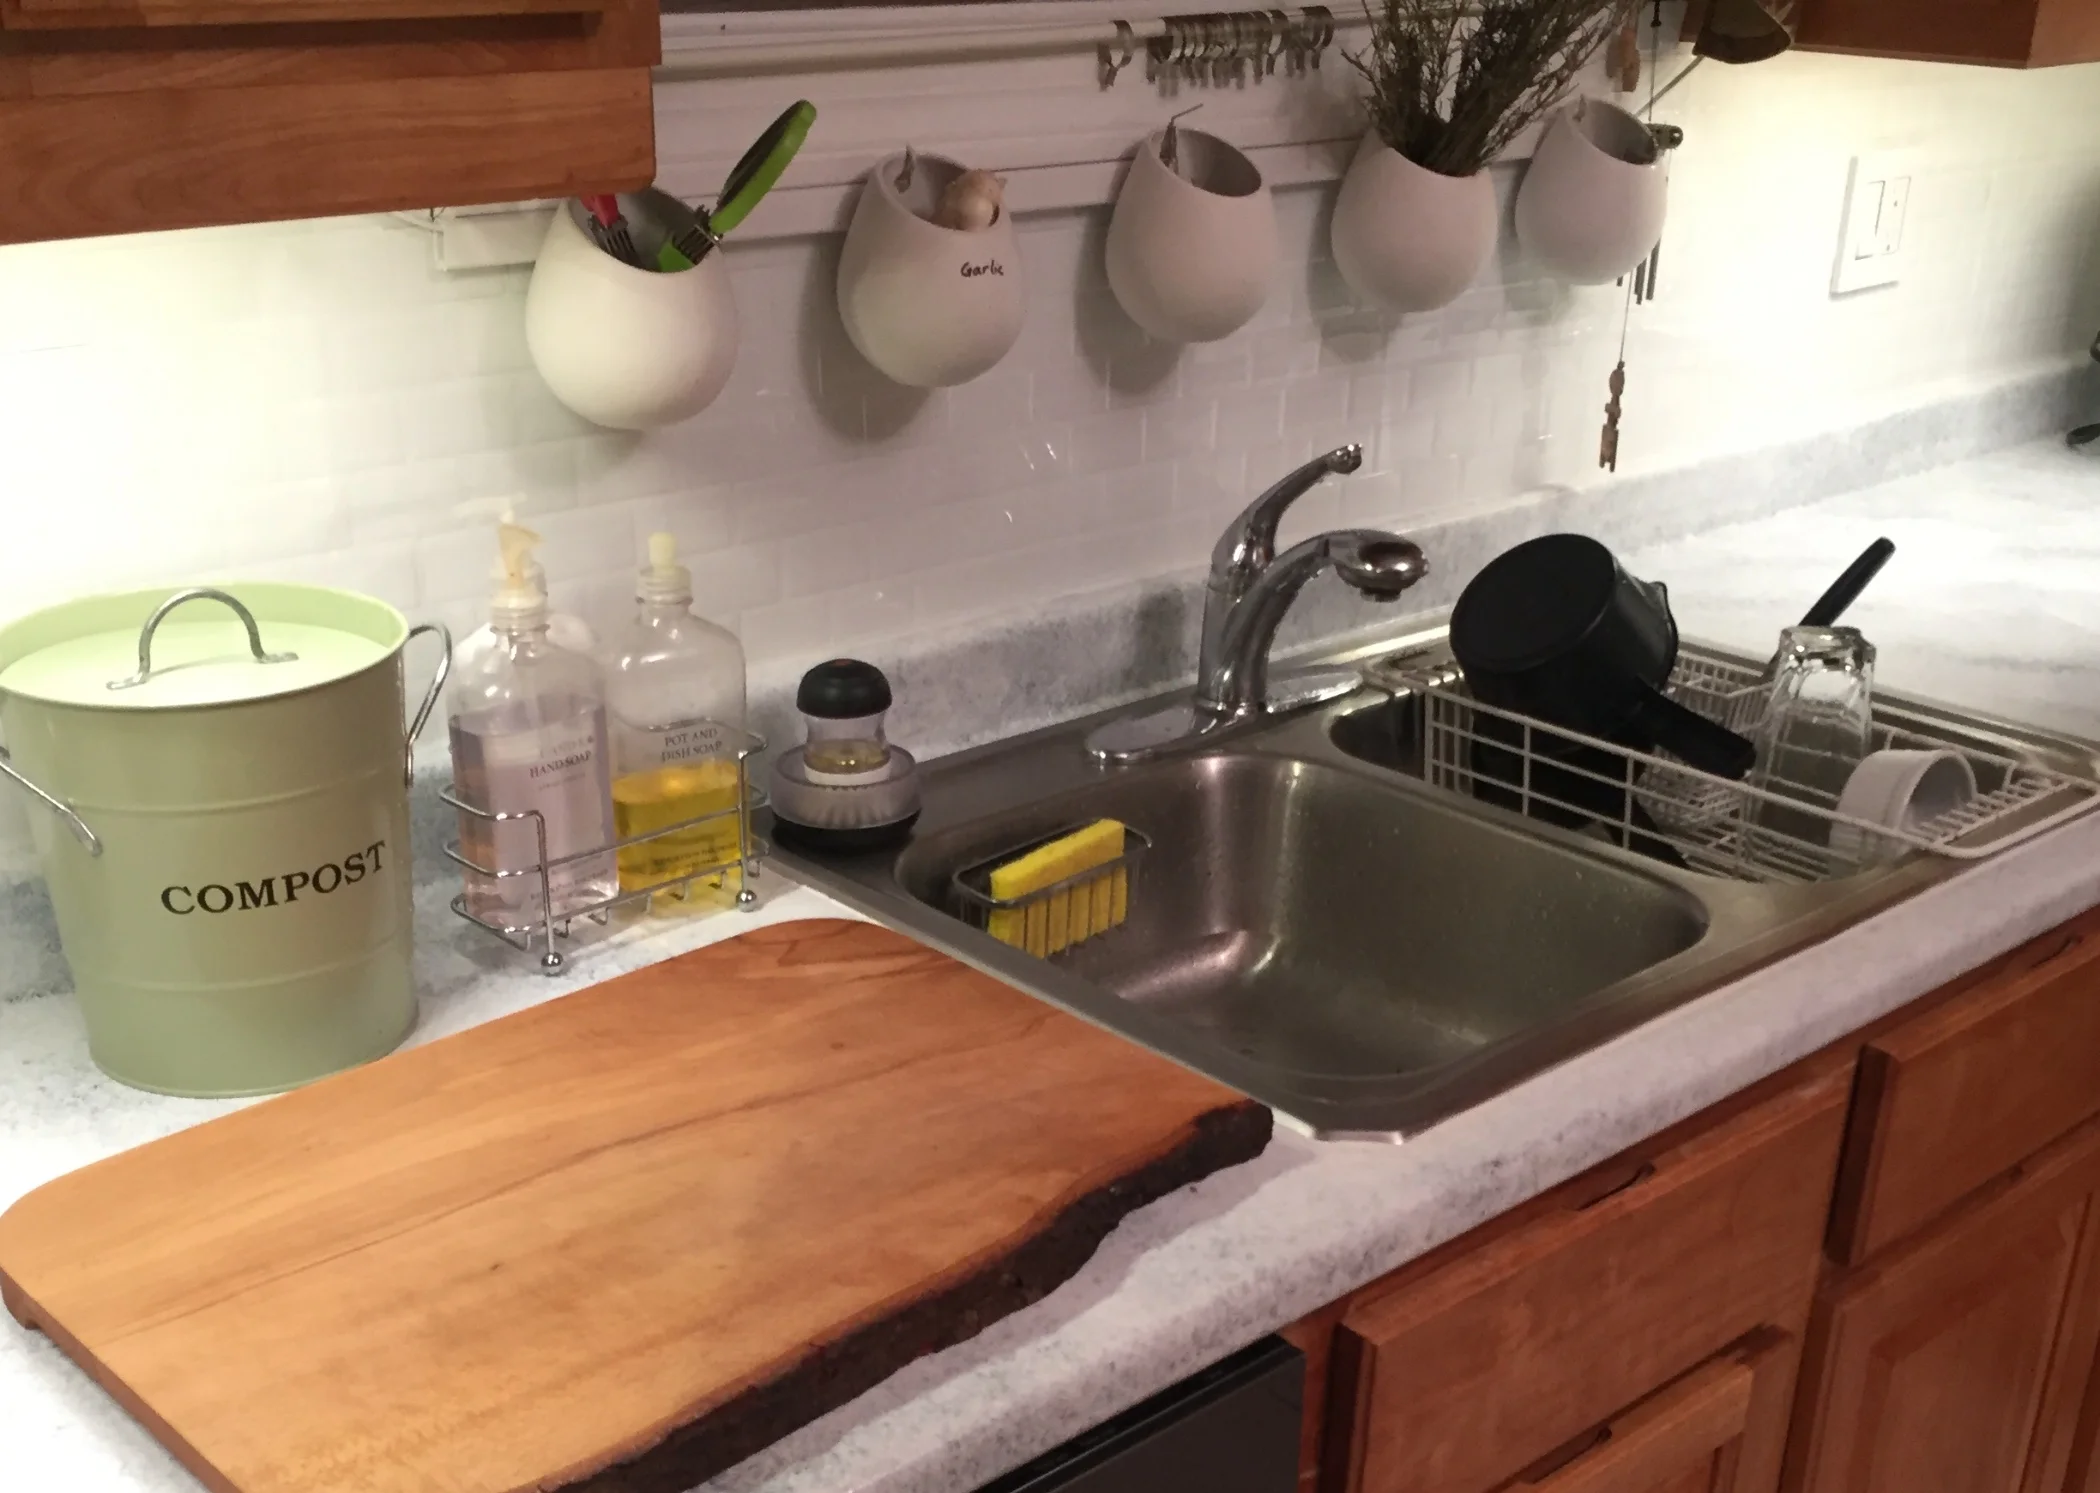
Kitchen Colors
Painted counter and peel-and-stick backsplash gives short-term brightness to my previously dull kitchen.
Before
The tan/bisque/yellow color palate was dreary and screaming out for an update. I want to fix the door-adjacent-stove problem before I invest in gorgeous stone countertops, new sink, and real tile. So, this gives me a pick-me-up for now. It's a $300 fix to a $5000 problem.
One of the countertop seams had started to lift... and it was getting worse. So I started to poke at it, and I made it a lot worse. I figured, I hate the crappy beige plastic counters... what do I have to lose? I started by peeling back the plastic and chiseling out the rotted wet sawdust.
Now what? Ah, good old-fashioned Bondo. The first layer goes in thin, to keep the crumbs down like when you're frosting a cake. I continued with a thicker, smooth layer. And then sanding. I have to admit, I got lazy here, and if you know where to run your hand across the finished counter, you can still feel the lump. (And if you call me out on it, no treats for you.)

Now the fun part... paint!
Product: Giani Granite White Diamond
They call it a three-step process, but it's actually more like five:
Step 1: Roll on flat black primer
Step 2a: Sponge on 'Pearl Mica'
Step 2b: Sponge on 'Inca Gold'
Step 2c: Sponge on 'Limestone White' (twice)
Step 3: Roll on glossy top coat
Next: peel-and-stick backsplash. Product: Tic Tac Tiles, in Subway White.


After
After adding under-cabinet lighting and caulk, the kitchen feels brighter and cleaner.
Products:
LED Concepts Linkable LED Light Bars attach to the under-side of the cabinet.
Two Lutron remote-controlled dimmer plugs allow me to control lights on both sides of the kitchen (plugged into two different outlets) using a single switch.
Lutron double-gang wall plate fastened directly to the drywall holds two remotes - one for the under cabinet lights, and one for the over-the-sink light.
