Kitchen Demolition and Appliances
Cutting out the wall separating the dining room from the kitchen gives the refrigerator door to open. With the wall gone, the light switch needed to move to a different wall.


The vent from the previous microwave recirculated air back into the kitchen. I wanted the new microwave to vent out into the carport, so I needed to cut another hole in the house. Someday I'll repair the siding so it looks nicer, but for now, it'll keep the bugs out.


Connected... love the apps!


Tribute to a 27-Year Old Fridge
This fridge came with the house, and chugged along for much longer than should be expected. My appraiser described it as ‘serviceable’, which seems to be the politically correct way to point out that it works but probably will require TLC to keep it working.
It must have sensed that the new appliances would be arriving the very next day, and decided to crap out. Let it be known that I got every last minute of useful life out of this thing. RIP, my old fridge.

You kept my food cold, sort of
Lack of storage helped me diet
Missing kick plate showed your workings
None accuse you of being quiet
Broken shelves empty by gravity
Delayed ice rinsed my flooring
Rotten produce feeds my compost
Energy efficiency is so boring
Kitchen Colors
Painted counter and peel-and-stick backsplash gives short-term brightness to my previously dull kitchen.
Before
The tan/bisque/yellow color palate was dreary and screaming out for an update. I want to fix the door-adjacent-stove problem before I invest in gorgeous stone countertops, new sink, and real tile. So, this gives me a pick-me-up for now. It's a $300 fix to a $5000 problem.
One of the countertop seams had started to lift... and it was getting worse. So I started to poke at it, and I made it a lot worse. I figured, I hate the crappy beige plastic counters... what do I have to lose? I started by peeling back the plastic and chiseling out the rotted wet sawdust.
Now what? Ah, good old-fashioned Bondo. The first layer goes in thin, to keep the crumbs down like when you're frosting a cake. I continued with a thicker, smooth layer. And then sanding. I have to admit, I got lazy here, and if you know where to run your hand across the finished counter, you can still feel the lump. (And if you call me out on it, no treats for you.)

Now the fun part... paint!
Product: Giani Granite White Diamond
They call it a three-step process, but it's actually more like five:
Step 1: Roll on flat black primer
Step 2a: Sponge on 'Pearl Mica'
Step 2b: Sponge on 'Inca Gold'
Step 2c: Sponge on 'Limestone White' (twice)
Step 3: Roll on glossy top coat
Next: peel-and-stick backsplash. Product: Tic Tac Tiles, in Subway White.


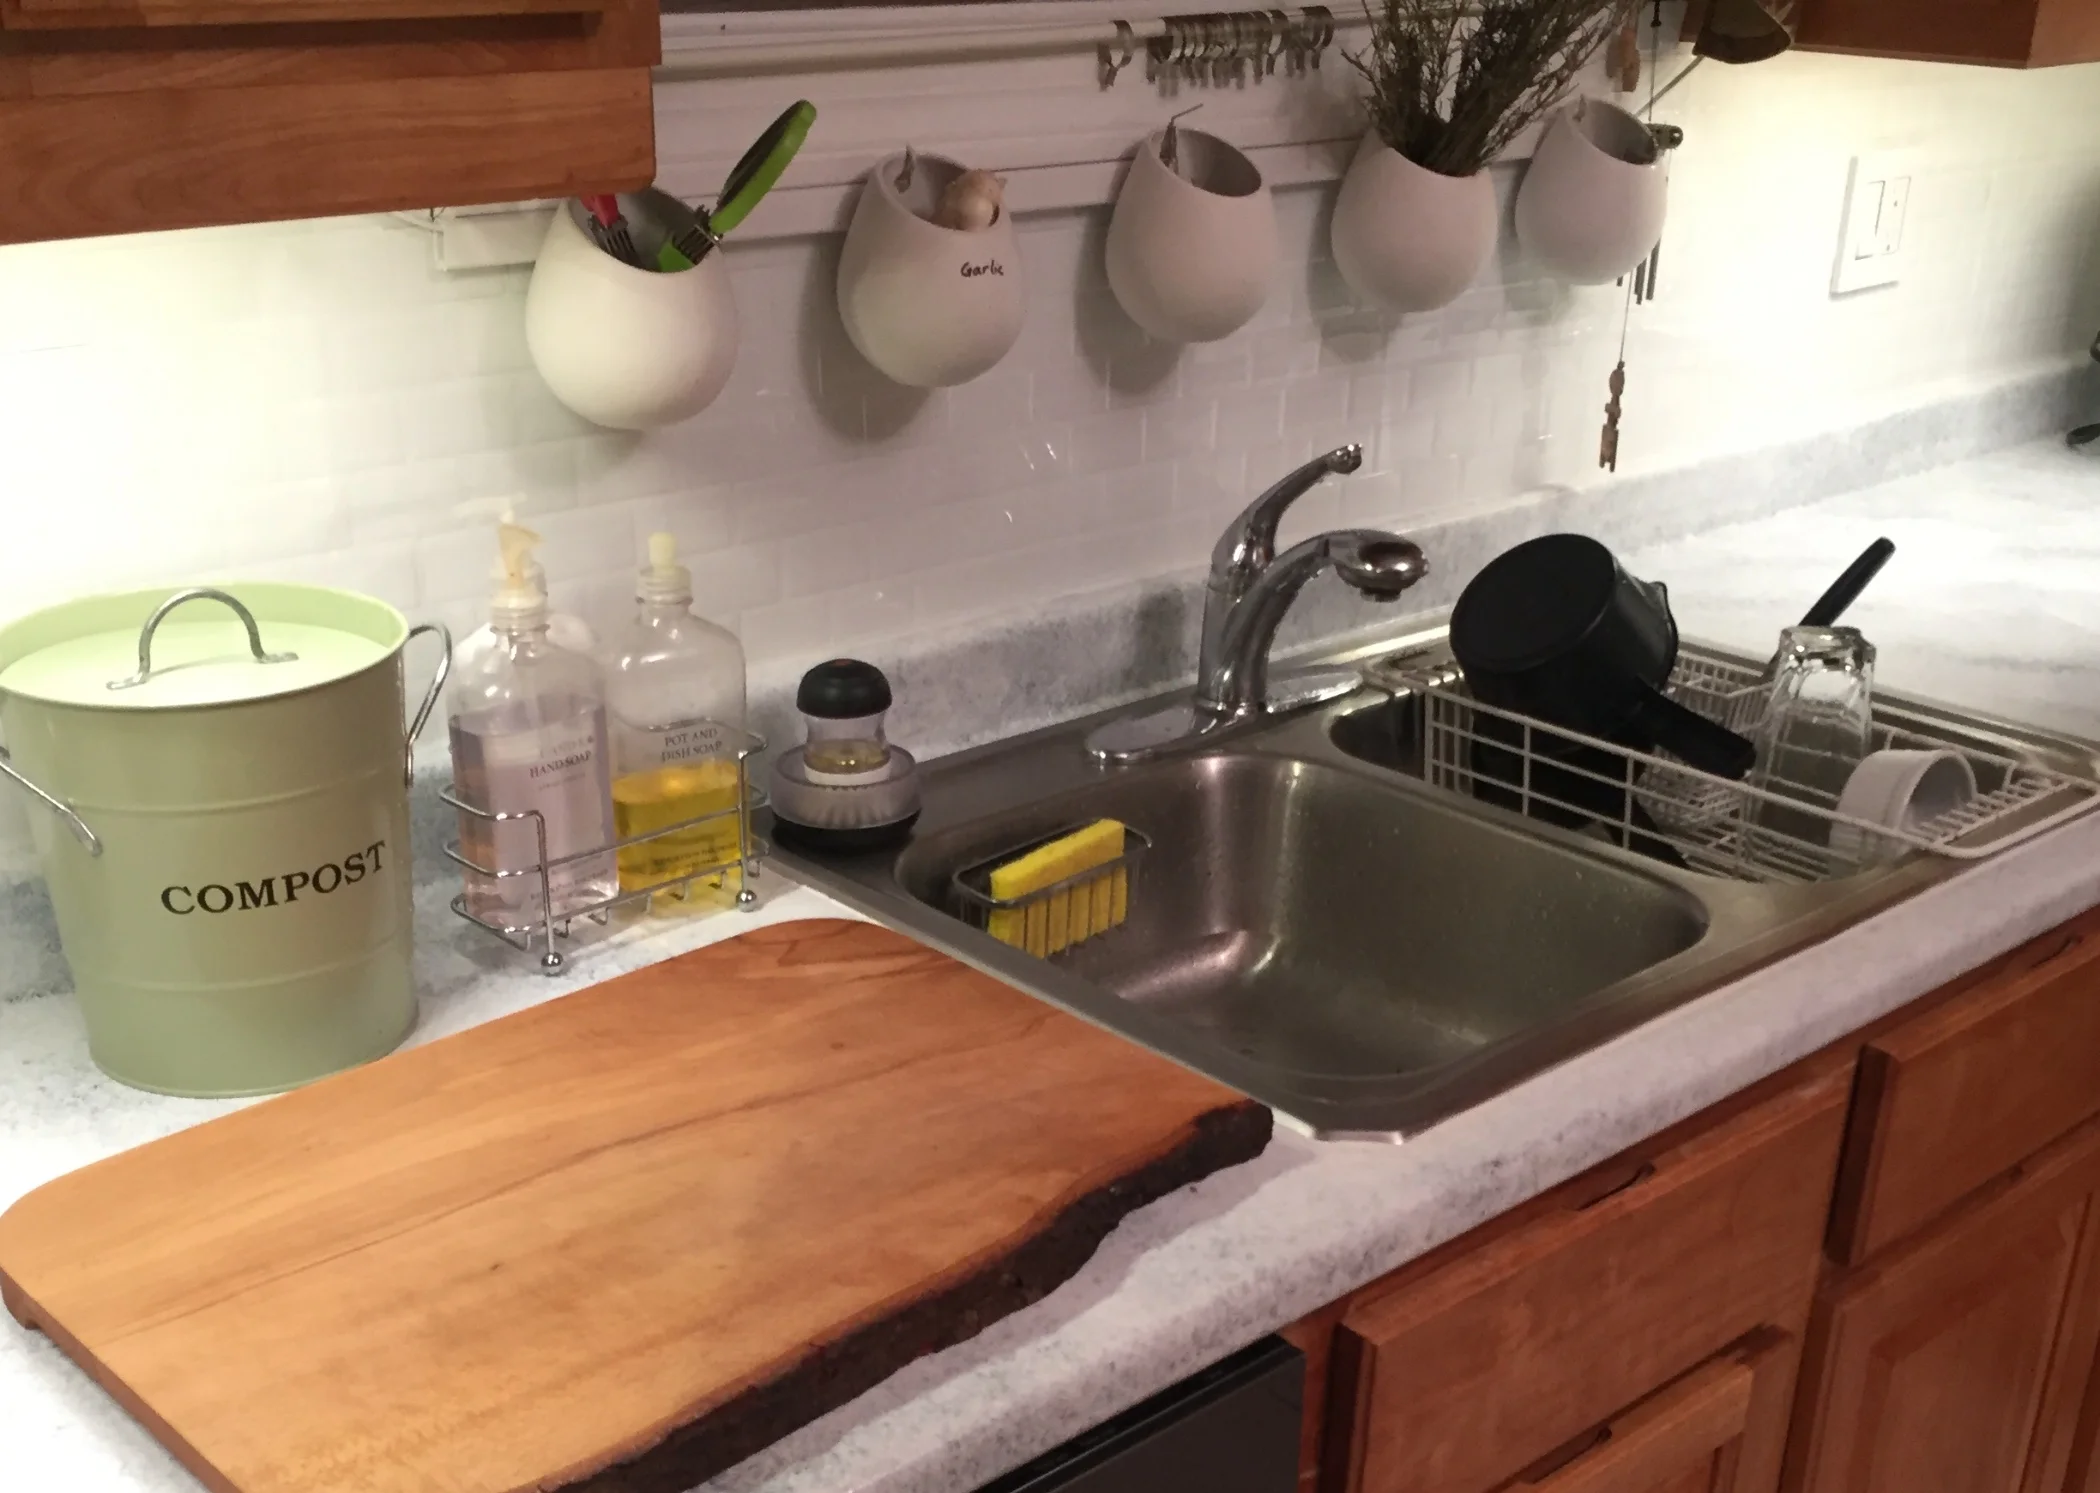
After
After adding under-cabinet lighting and caulk, the kitchen feels brighter and cleaner.
Products:
LED Concepts Linkable LED Light Bars attach to the under-side of the cabinet.
Two Lutron remote-controlled dimmer plugs allow me to control lights on both sides of the kitchen (plugged into two different outlets) using a single switch.
Lutron double-gang wall plate fastened directly to the drywall holds two remotes - one for the under cabinet lights, and one for the over-the-sink light.
