Wisteria
Adorning my front garden with the lovely and fragrant wisteria.
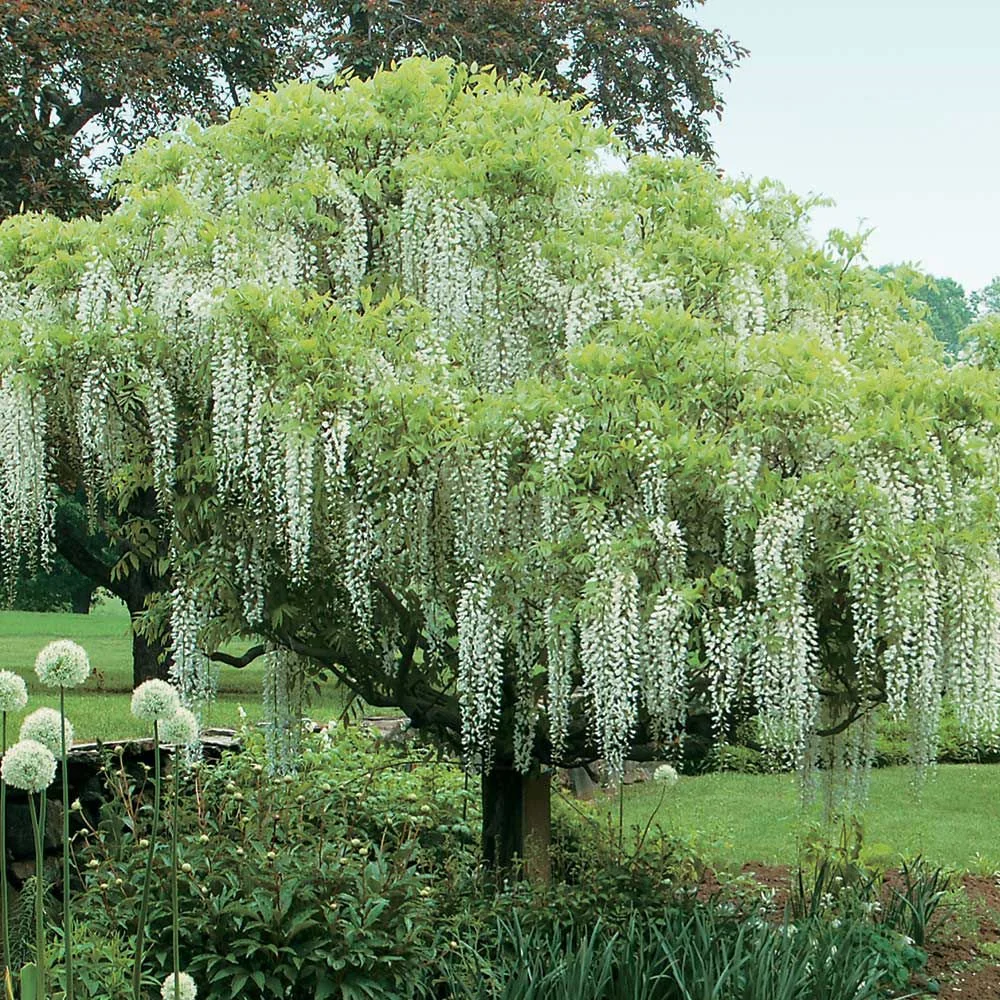
The catalog image... but of course, it doesn't look like this when it arrives.
I wanted to punch up my front garden bed... a small showy tree with fragrant flowers. Our neighborhood has plenty of lovely magnolia, cherry, and dogwood trees... I wanted something unique. Enter: Wisteria Longissima Alba Tree Form.
A few weeks later, I found myself planting what looked like a dead stick. (Am I being punked? Hey... look at the neighbor watering her pet stick!)
But sure enough, signs of life emerged, and now I have a fuzzy green tree living in my front garden.

My baby tree has arrived. (01-JUN-2017)

Dormant, not dead... so they tell me.

Signs of life! (24-JUN-2017)

One month after planting. (01-JUL-2017)
UPDATE: Crazy thing still doesn’t look like the catalog picture, but it is healthy and happy. Reminds me of a Chihuly sculpture. Sometimes it blows over in a harsh wind storm… not pulling the roots out, but just bending because the trunk is so flexible. I gave it a bigger stake and some tie-outs, and it seems to be staying put now. The rest of the garden is growing in nicely, too! (12-SEPT-2019)

UPDATE: First buds have appeared! I’m excited to see it bloom. (21-MAY-2020)


Niagara Trip
Mom’s 70th birthday trip.
Okay, so it wasn’t my trip. But since my mom is a homebody at heart, having a trip to Niagara Falls on her bucket list was a big deal. I decided that on her 70th birthday, it was time to get those plans in motion.


Garden Irrigation
Installing drip irrigation in the garden was like playing with Legos for grown-ups.
Doesn't this look like something you'd buy at Toys R Us? I'm totally into it. Each of my garden beds is now equipped with a series of small drippers to keep my plants hydrated without soaking the leaves. For now it's on a battery-operated timer, but when I install an irrigation system in the yard, this will tie into it and be its own zone.


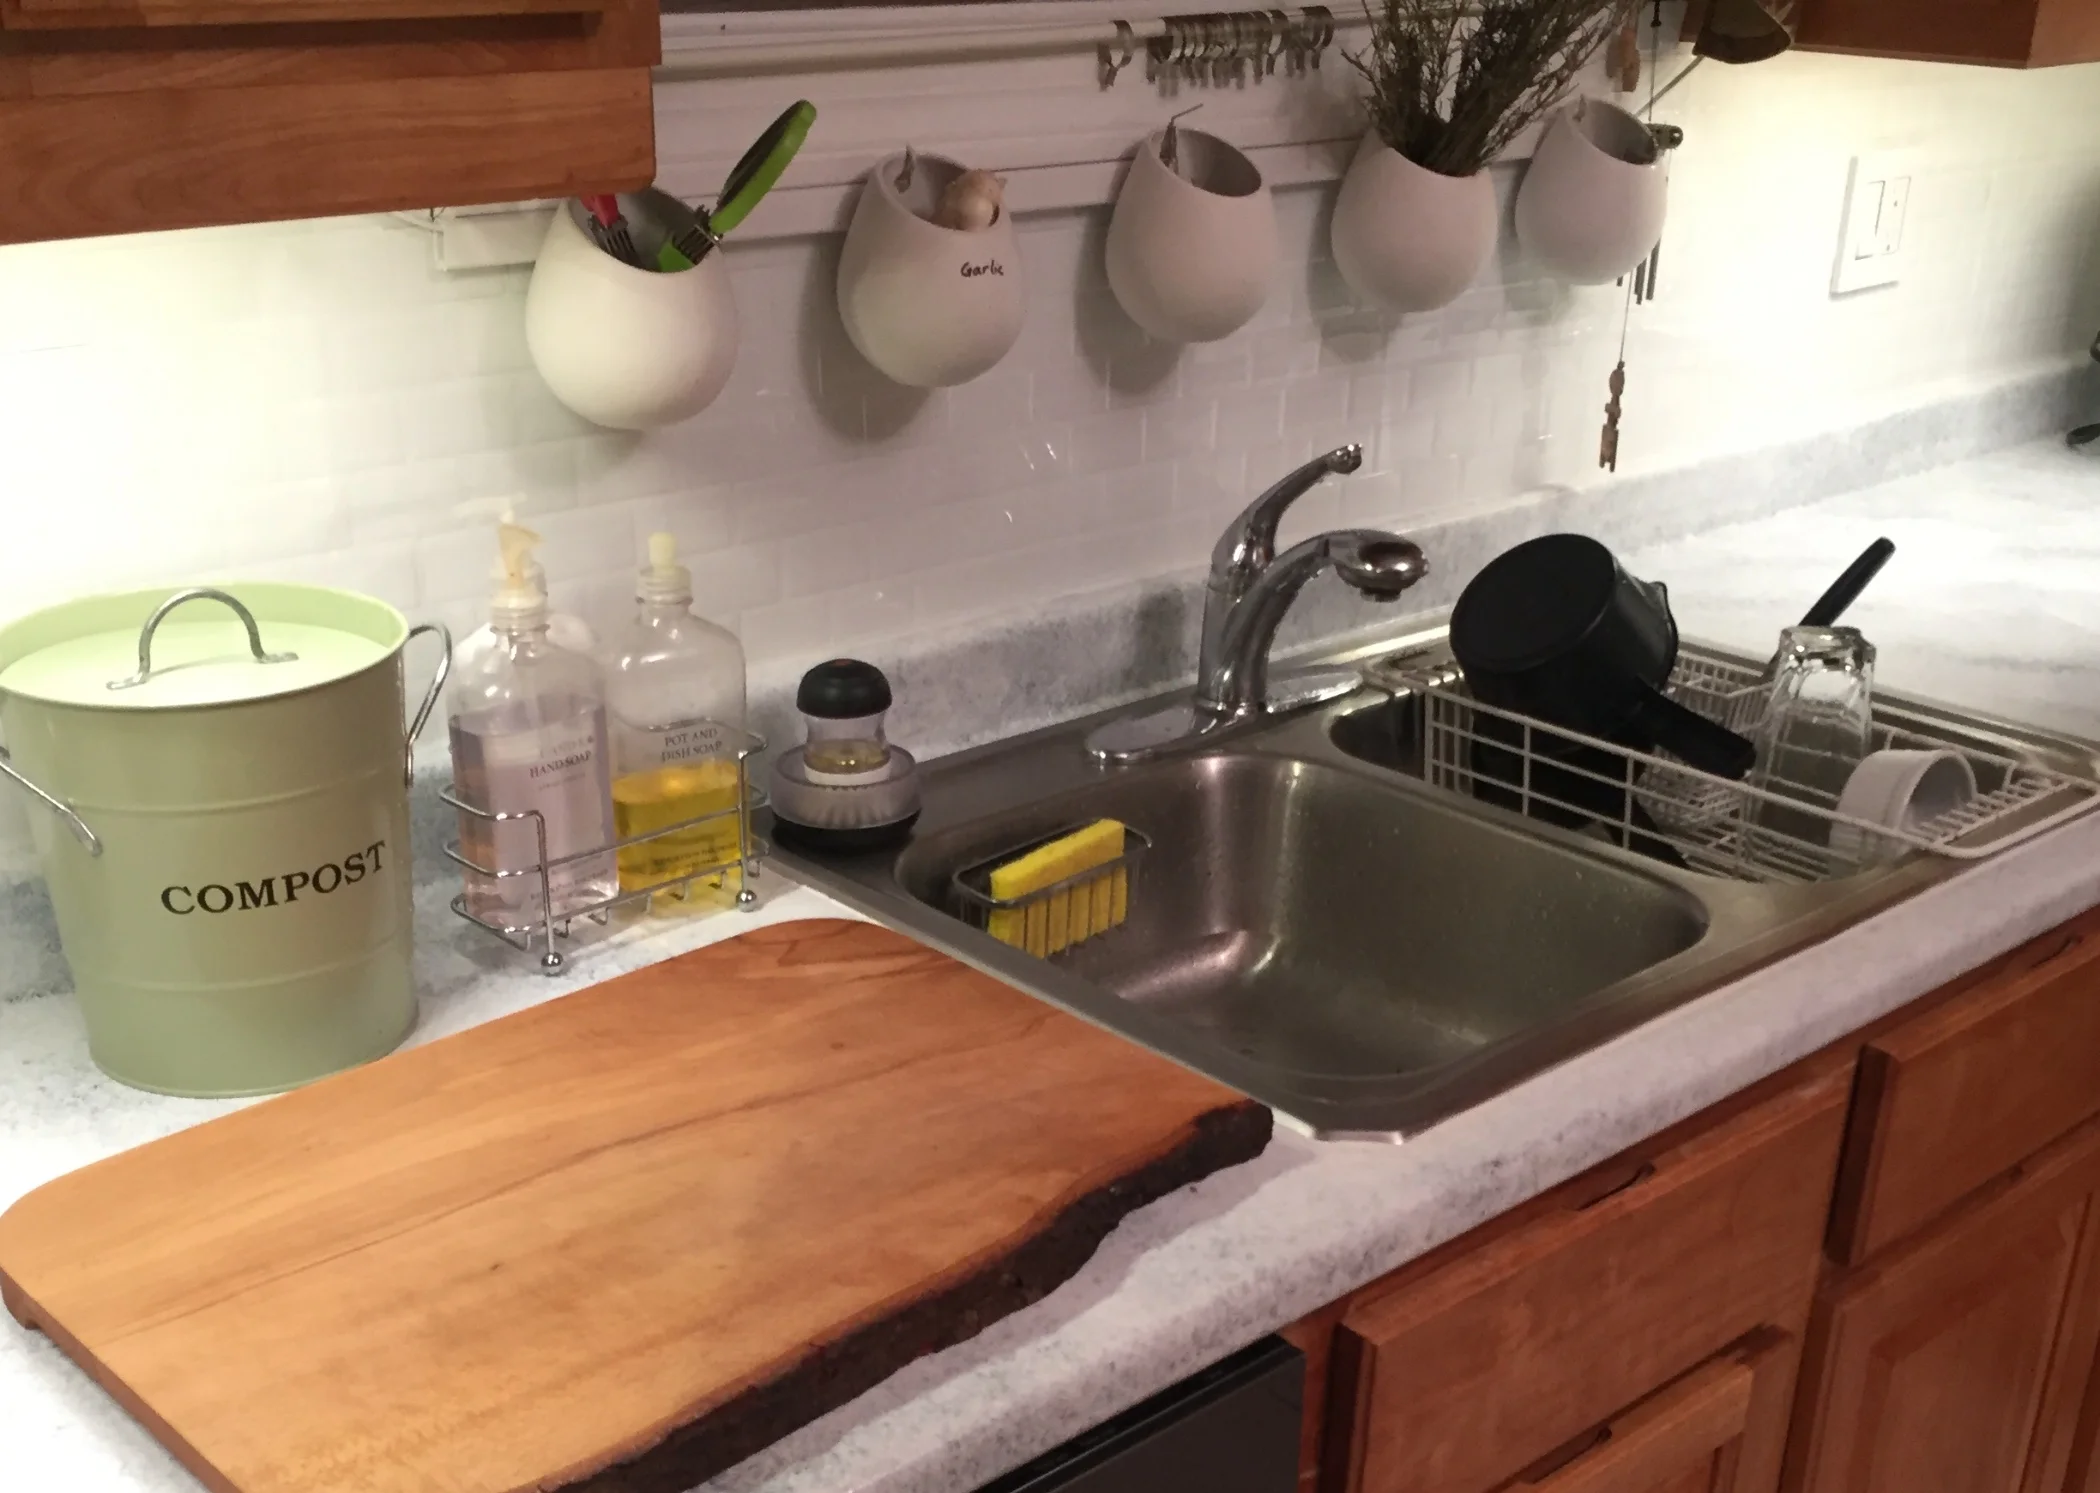
Kitchen Drywall and Tile
After a suitable amount of procrastination, I got help with the drywall and tile. It's nice to no longer look at studs and a hole in the floor.


Over-sink Light
Using smart bulb technology to overcome bad wiring configurations.
The circuitry over the sink was wired in such a way that either a switch would control not just the sink light, but the Keurig and carport light (um, not happening), or the sink light would be on all the time. At least I can get around that with a smart bulb. Since smart bulbs aren't as stylish as the decorative ones out there, I picked an opaque sconce that would hide it.
As with the strips of under cabinet LED lights (installed when I changed my kitchen colors), the switch for this smart bulb is a Lutron Pico remote that sits right on top of the drywall.


Diggin' Dog
I added a special dirt-box to my yard so the girls have a place to get their digg on.
My girls Sadie & Maddox like to eat dirt. They find a really good patch of dark, organic, earthy goodness and bite right into the ground... it's pretty funny to watch. Their bowels are now part of the geologic process, pooping out little rocks.
The trouble is... I don't want holes in my lawn. I got this idea from my Aunt Betty when she lived out in Sequim, Washington. If your dogs have an insatiable urge to dig that can't be trained away, the next best thing is to give them an appropriate spot to sink their claws. Make it neatly edged, loaded with a mix of clean pool sand and yummy dirty organic topsoil, and be mindful (if it's near the fence, like mine) that they can't tunnel underneath. Throw in a few fun finds (Kongs, bones, etc) for your inquisitive friends to unearth. Every time they start to dig in an undesirable place (like under the barbecue), redirect them to the digging box and praise them when they start to dig there.

Mine is a simple 3x5' box made with pressure treated wood. (If your dogs chew on wood, you may opt for a non-PT option.)

The digging box sits at the edge of my yard, in the semi-circle of mulch designed for the dog agility equipment & other play things.

Happy girls going to town in their new digging box!
18 Trees
More sun, fewer acorns, and less scraggly dead junk.
I'm biting the bullet and having trees removed. EIGHTEEN trees. And the thing is... this won't even make a dent in the forested sanctuary of my back yard. The biggest difference will be to the front yard, where 4 out of the 5 trees will be removed.
I feel somewhat guilty about the oak... it is a nice tree. At least, it's nice until early November, when I start to curse its name. The leaves of my maples fall politely all at once, and I dedicate one afternoon to mulching them for my garden beds. The leaves on the oak, on the other hand, start falling around Halloween and continue to fall until March. And then there's all the other droppings... the tree is always pooping sticks onto my yard. It's also decorated with widow-makers: giant broken limbs hanging 60 feet up, just waiting for the perfect storm to knock them loose.
And then there's the ACORNS. Millions of them. The yard becomes like the ball pit at Ikea, if the balls were marbles with tiny sharp prongs that stab the bottoms of bare feet. I swear the squirrels throw them with force... my bedroom is a percussion instrument. I *!@%$* hate acorns.

Giant oak and three dying firs... these are on my top-ten list of trees to remove.
Then there are the scraggly ugly trees in the back yard that are irritating to mow around and add no beauty. There are a few crowded fir trees that are becoming weak and attracting carpenter ants... they're dead vertical fire starters. A couple others have made sport of dropping onto my fence.


Above: One of the black birches in a small stand decided to let go one winter storm. Just as well, since I keep having to rip out the root-runner babies.
Left: A storm in December 2014 snapped this leaning maple in half. I'm not sad to see them go, since its brother is bigger, and leaning farther onto my property. It worried me that someday they'd hurt more than just the fence.

Sadie surveys the wreckage.

Loam spread in the front yard.
The yard before, with 14 trees scheduled to be removed.
The yard after, with plenty of trees left.
Master Bedroom Light Switches
Perfect indoor project for a cold spring day... rewiring light switches! The old switches worked just fine, but I had to get out of bed (*groan*) to operate them.

These new switches are connected via wifi to a hub that I can operate from my phone... anywhere in the world. I know if future generations read this, they'll roll their eyes and wonder how humanity survived with such medieval technology. But for now, I think it's pretty cool.
Guest Bathroom Tweaks
Just a few updates... the bathroom previously had a bare bulb suspended in a rusting metal box. The new light and fan combo isn't sexy, but does the trick. The components are wired together, so I added a timer switch to turn the fan off after a short while.


For some reason, no one (including myself) can ever remember how to work the guest shower. (In fact, during the home buying inspection, the inspector, the agents, and everyone in the house failed at this... we had to call the seller.)
Simple solution: computer graphics and laminating plastic.

K9K8 Year In Review: 2016


Multiple interpretations of the word “bed”

Beau cools his belly in the puddle

Mountain Goat Maddox


My Sadie girl had a tumor in her eyeball. A melanoma distorting the lens, so she’s already blind in that eye. I suppose her surgery will be a bigger adjustment for me than for her.


Popcorn Ceiling
After confirming that the popcorn ceiling doesn't contain asbestos (mail-in DIY kit), I set to spraying and scraping down the ceiling. I used big plastic sheets to funnel all the droppings into a garbage bag, which minimized the amount of nasty cleanup.


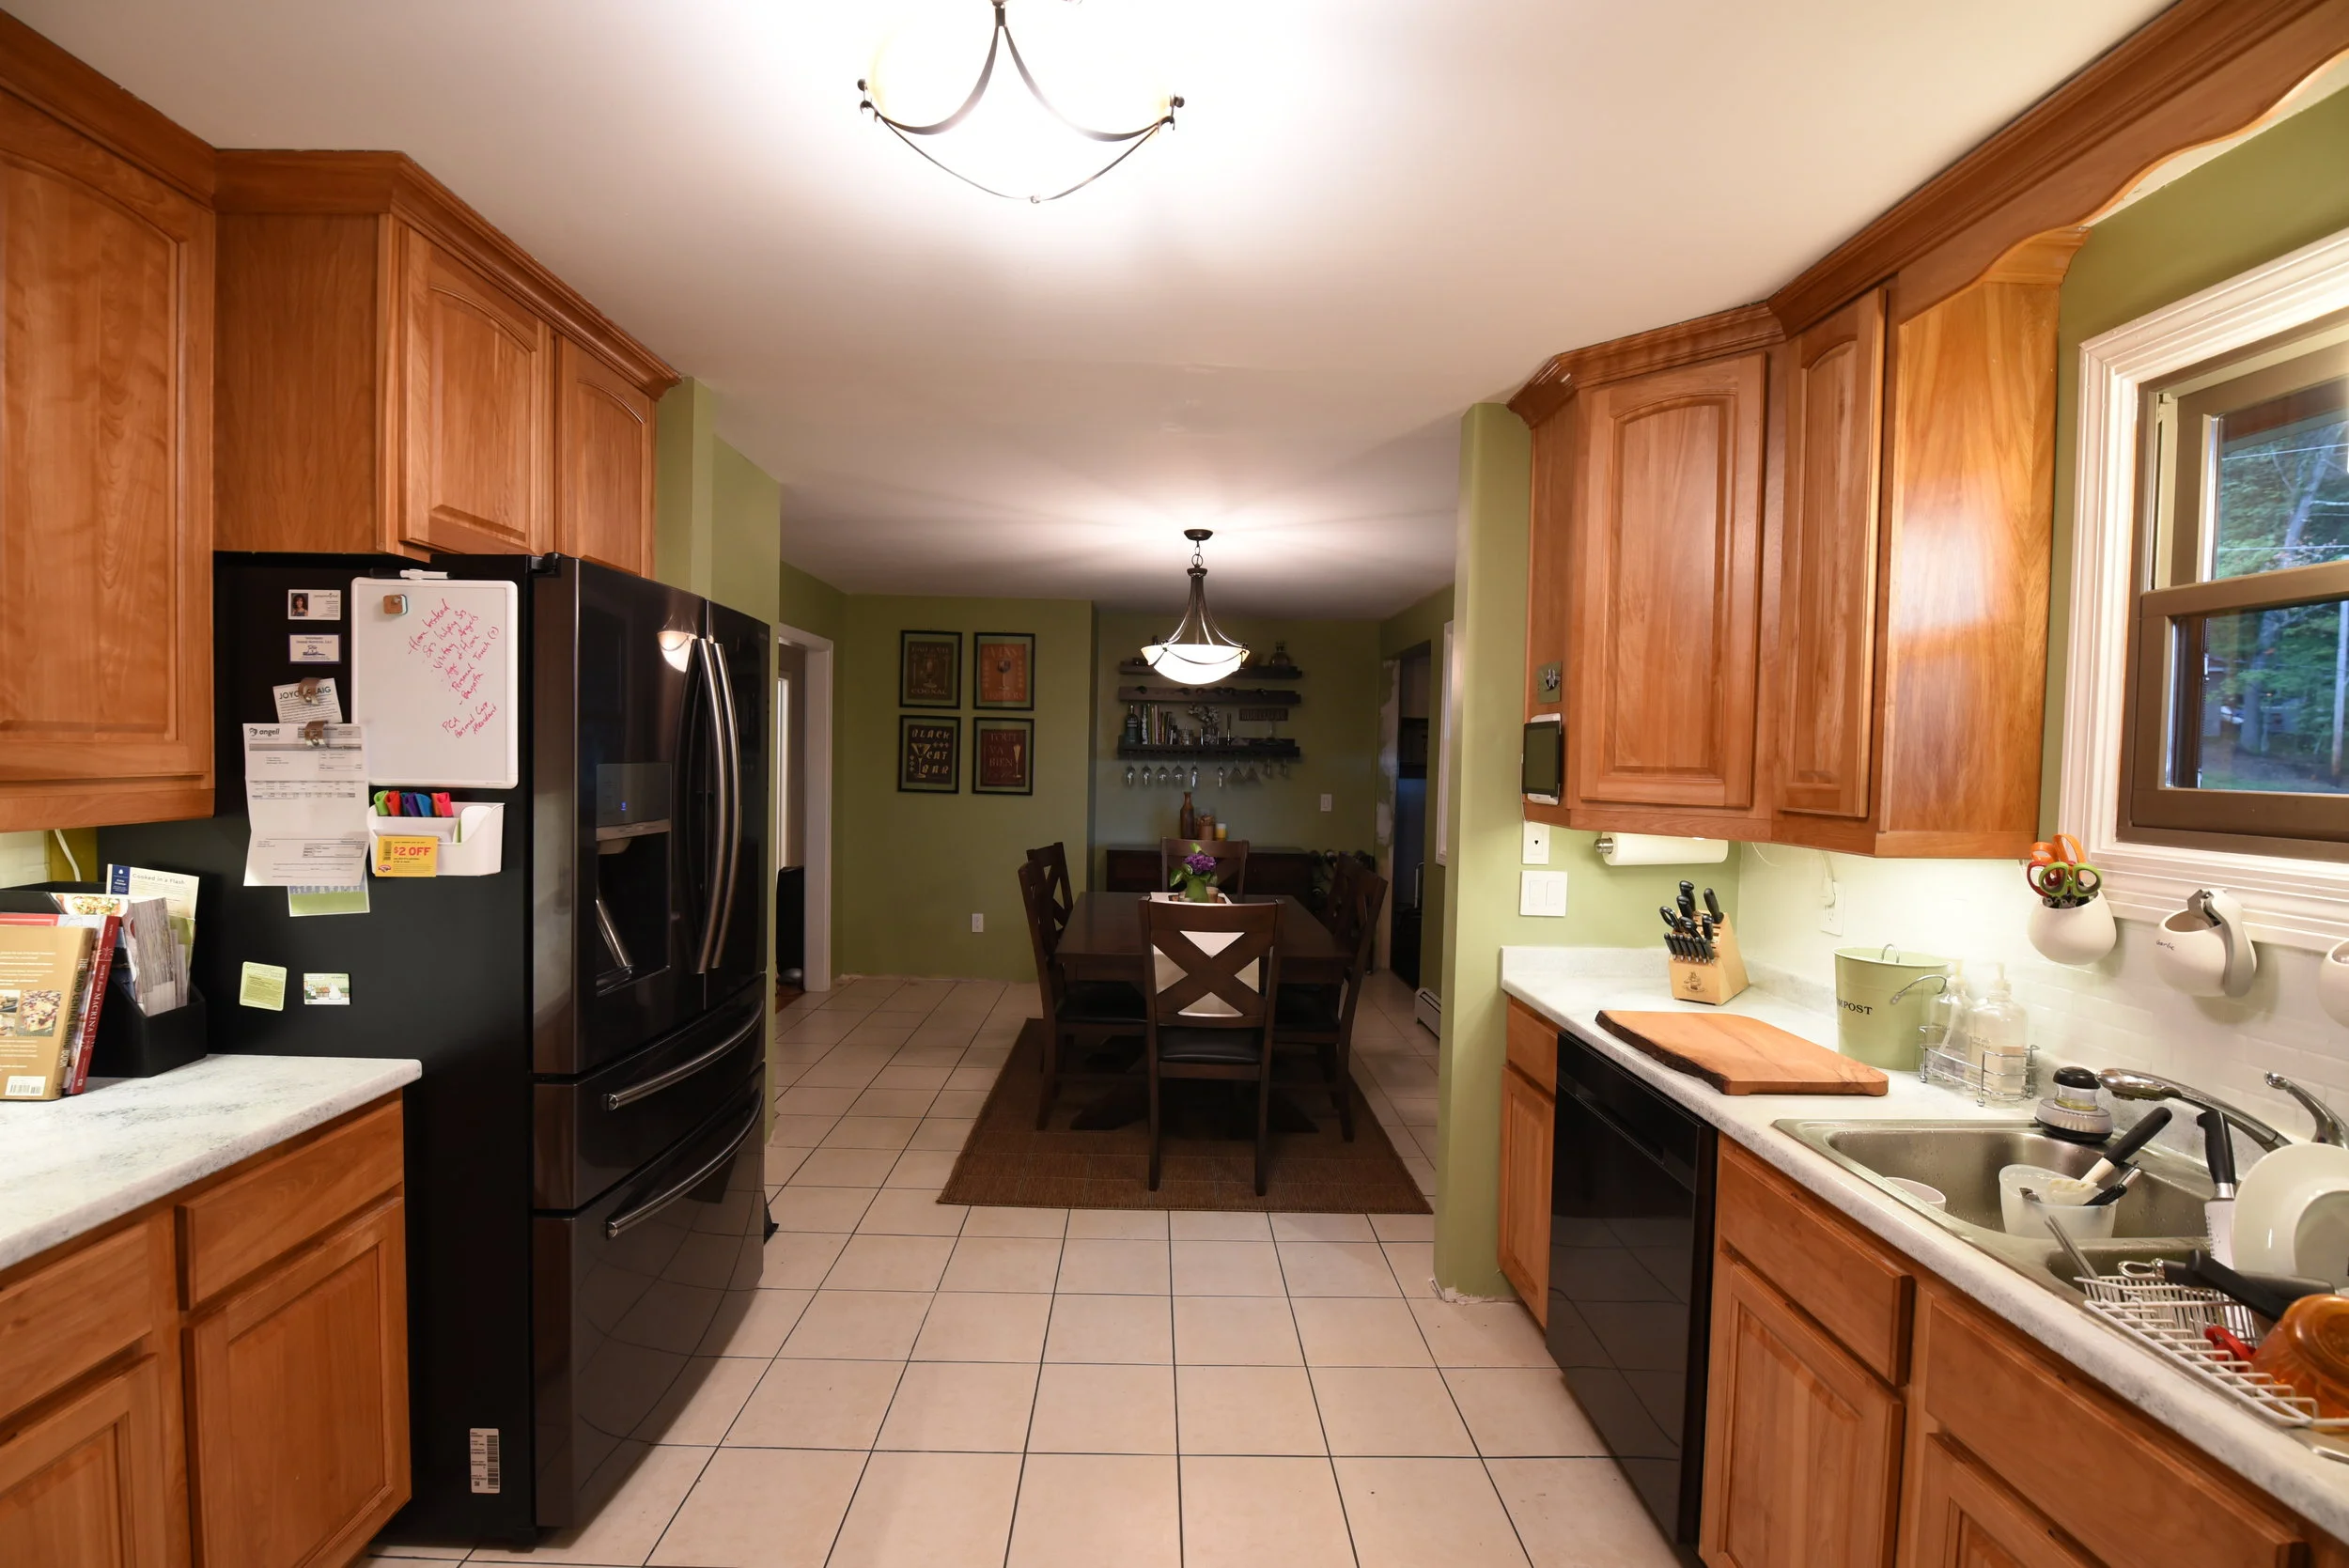
Kitchen Demolition and Appliances
Cutting out the wall separating the dining room from the kitchen gives the refrigerator door to open. With the wall gone, the light switch needed to move to a different wall.


The vent from the previous microwave recirculated air back into the kitchen. I wanted the new microwave to vent out into the carport, so I needed to cut another hole in the house. Someday I'll repair the siding so it looks nicer, but for now, it'll keep the bugs out.


Connected... love the apps!


Tribute to a 27-Year Old Fridge
This fridge came with the house, and chugged along for much longer than should be expected. My appraiser described it as ‘serviceable’, which seems to be the politically correct way to point out that it works but probably will require TLC to keep it working.
It must have sensed that the new appliances would be arriving the very next day, and decided to crap out. Let it be known that I got every last minute of useful life out of this thing. RIP, my old fridge.

You kept my food cold, sort of
Lack of storage helped me diet
Missing kick plate showed your workings
None accuse you of being quiet
Broken shelves empty by gravity
Delayed ice rinsed my flooring
Rotten produce feeds my compost
Energy efficiency is so boring
Kitchen Colors
Painted counter and peel-and-stick backsplash gives short-term brightness to my previously dull kitchen.
Before
The tan/bisque/yellow color palate was dreary and screaming out for an update. I want to fix the door-adjacent-stove problem before I invest in gorgeous stone countertops, new sink, and real tile. So, this gives me a pick-me-up for now. It's a $300 fix to a $5000 problem.
One of the countertop seams had started to lift... and it was getting worse. So I started to poke at it, and I made it a lot worse. I figured, I hate the crappy beige plastic counters... what do I have to lose? I started by peeling back the plastic and chiseling out the rotted wet sawdust.
Now what? Ah, good old-fashioned Bondo. The first layer goes in thin, to keep the crumbs down like when you're frosting a cake. I continued with a thicker, smooth layer. And then sanding. I have to admit, I got lazy here, and if you know where to run your hand across the finished counter, you can still feel the lump. (And if you call me out on it, no treats for you.)

Now the fun part... paint!
Product: Giani Granite White Diamond
They call it a three-step process, but it's actually more like five:
Step 1: Roll on flat black primer
Step 2a: Sponge on 'Pearl Mica'
Step 2b: Sponge on 'Inca Gold'
Step 2c: Sponge on 'Limestone White' (twice)
Step 3: Roll on glossy top coat
Next: peel-and-stick backsplash. Product: Tic Tac Tiles, in Subway White.


After
After adding under-cabinet lighting and caulk, the kitchen feels brighter and cleaner.
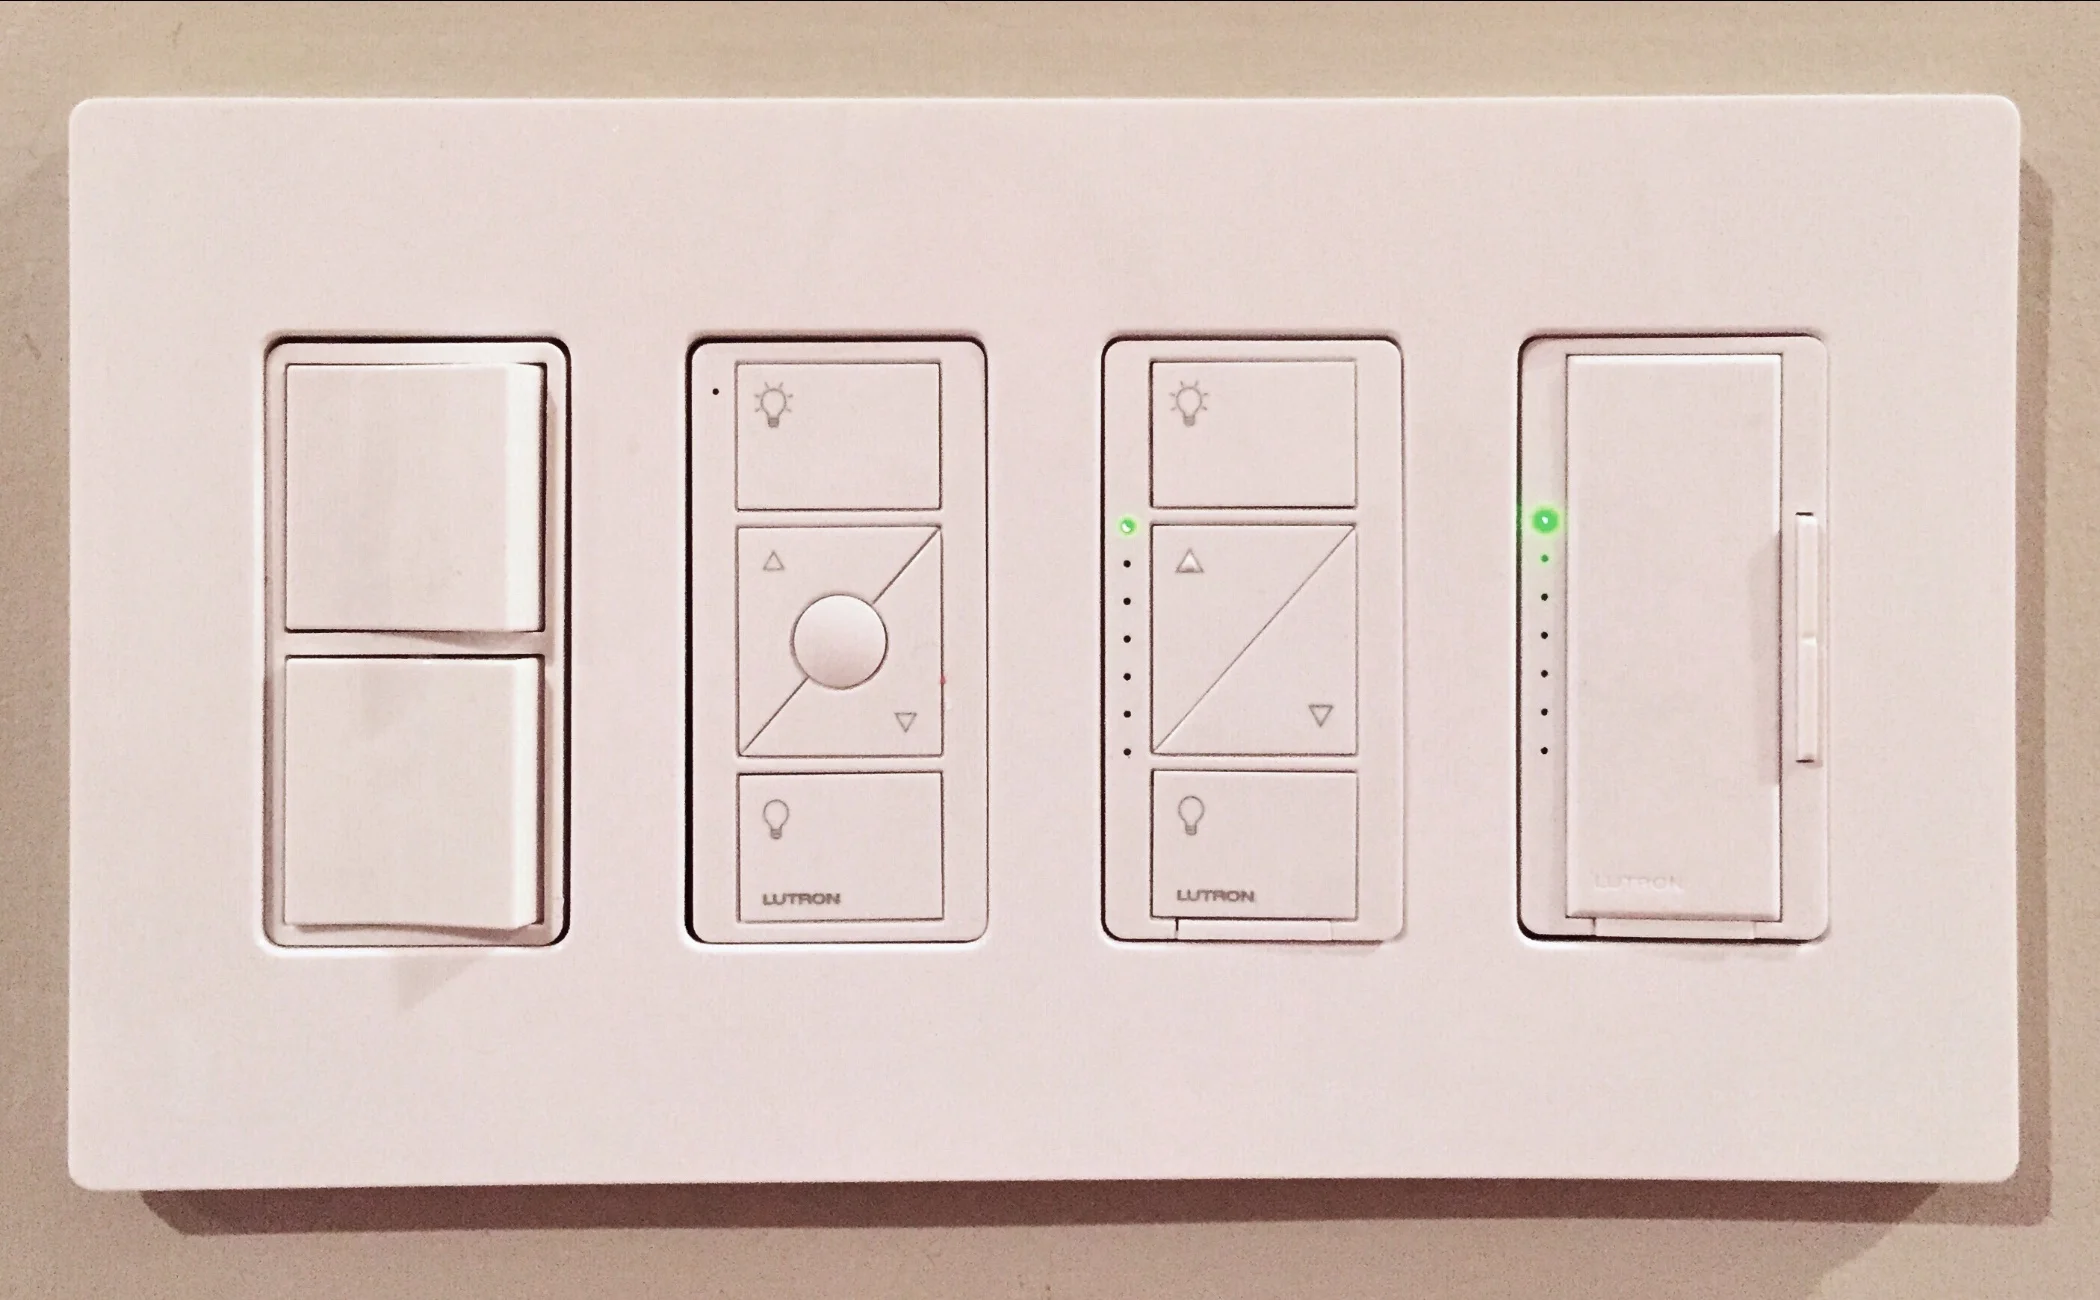
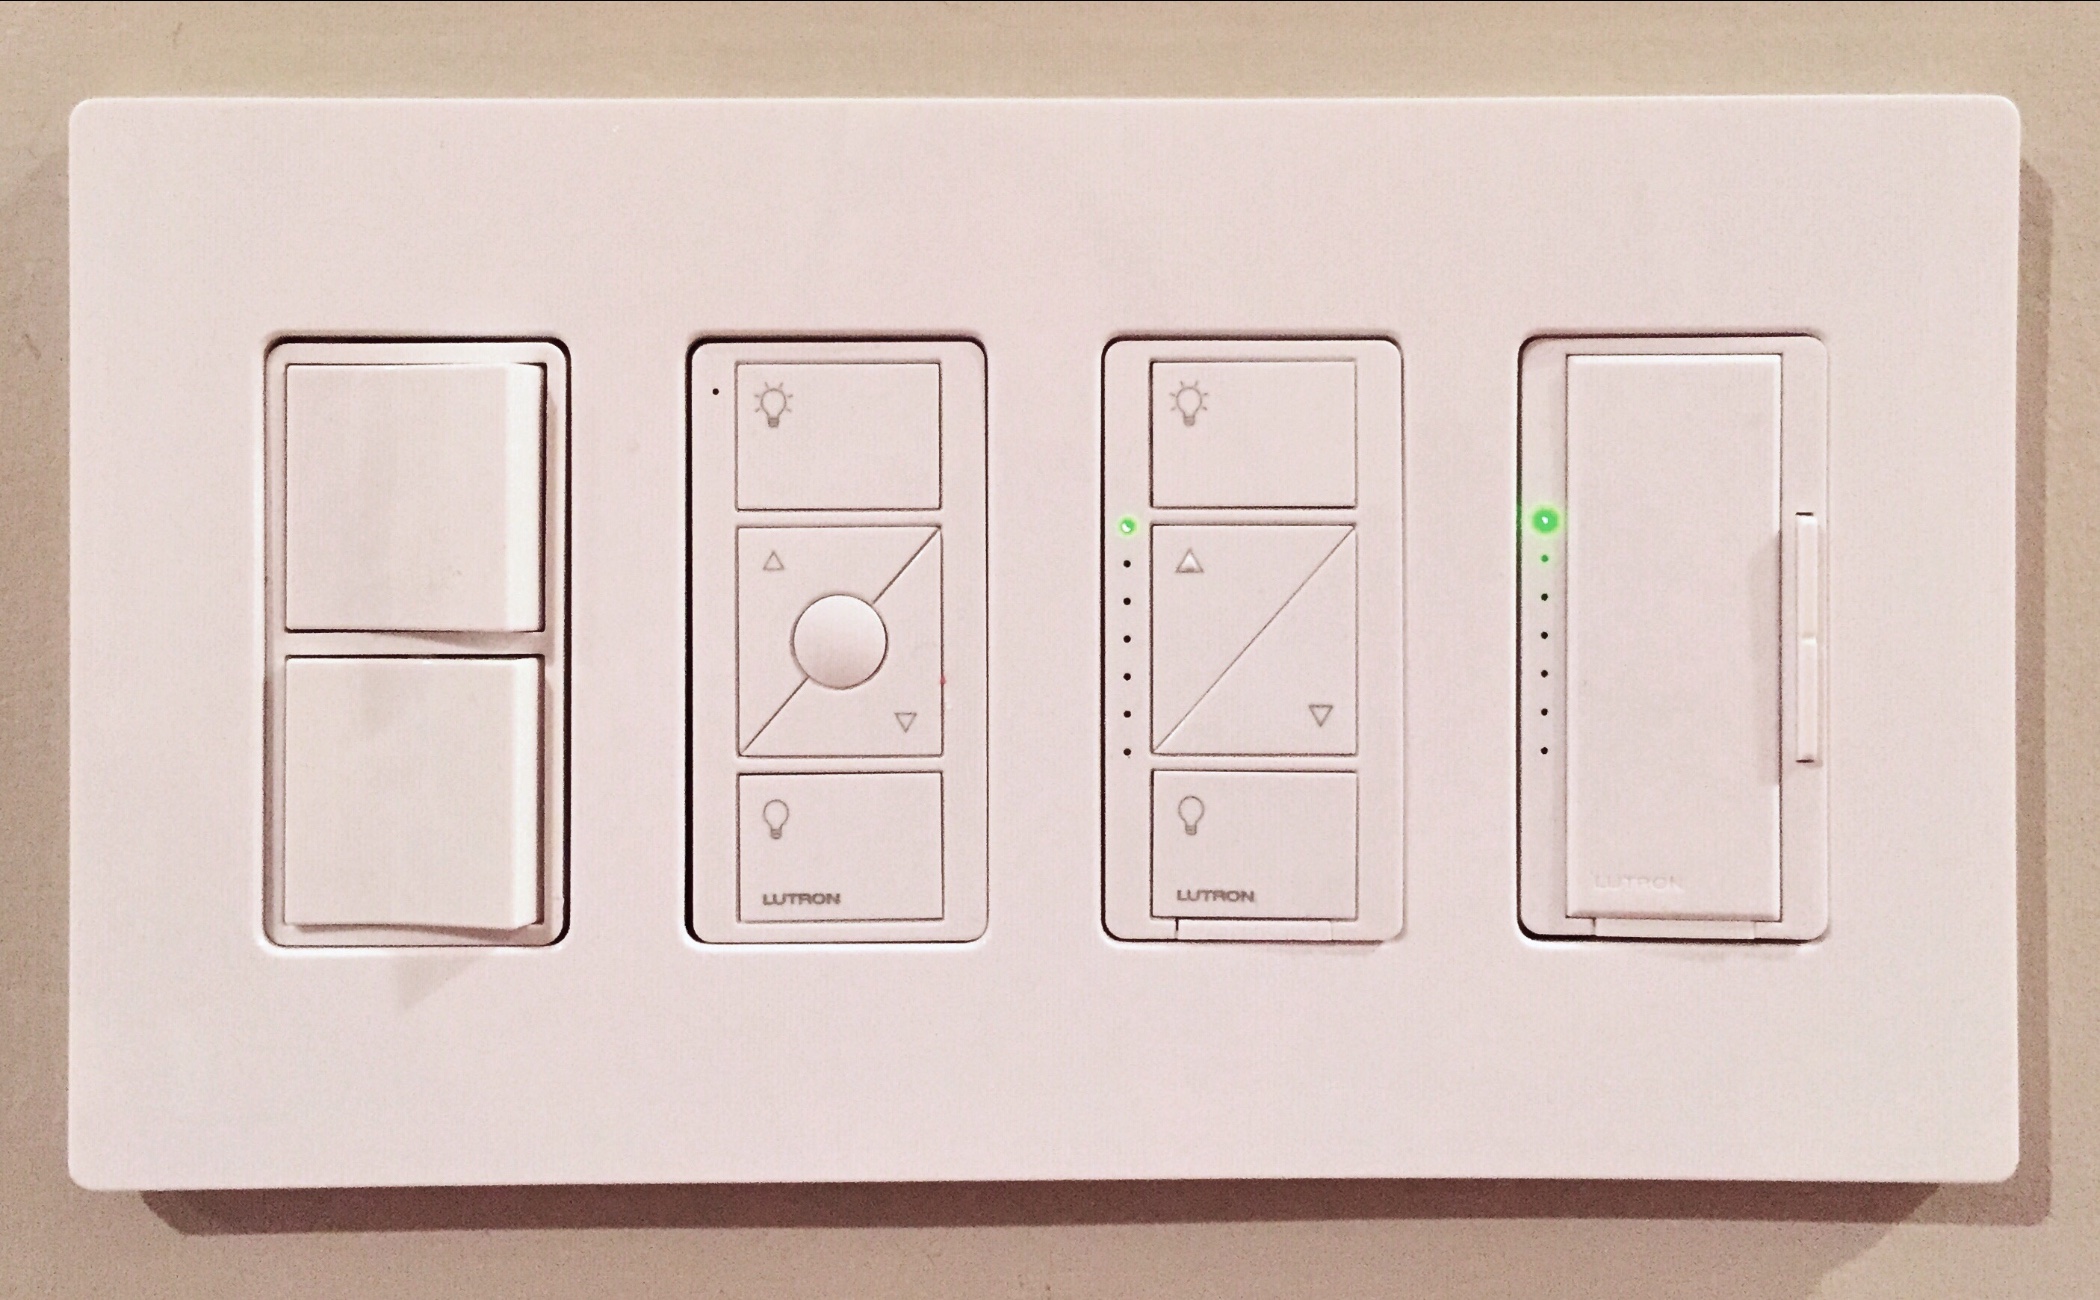
Products:
LED Concepts Linkable LED Light Bars attach to the under-side of the cabinet.
Two Lutron remote-controlled dimmer plugs allow me to control lights on both sides of the kitchen (plugged into two different outlets) using a single switch.
Lutron double-gang wall plate fastened directly to the drywall holds two remotes - one for the under cabinet lights, and one for the over-the-sink light.

Ramp for Sadie
Repurposing hand-me-down constructs from the neighbors to help my Sadie manage stairs.
She doesn't necessarily need it right now, but I love re-purposing leftovers. As my girls get older and more arthritic, this will allow them to bypass the stairs.

Movie Night
New fun way to enjoy the yard... neighborhood outdoor movie night!
Neighborhood movie night! We rolled out the projector and screen, and lit the bonfire for making s'mores and popcorn that rises in an expanding aluminum foil bubble. The grown-ups hung back by the table (and, more importantly, beer cooler) while the kids stared wide-eyed at the screen and recited the lines to Despicable Me. What a great night!


Front Walk Garden
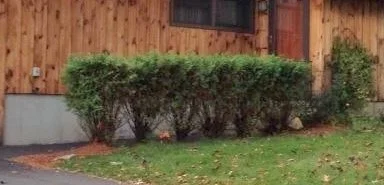
The arborvitae hedges smelled nice, but had grown beyond an attractive shape. I initially tried to prune them back, hoping the woody lower half would fill in. It didn't. So out they went.


Finally I decided that I didn’t really want a row of matching, unappealing hedges. I picked new plantings that will hopefully give the area more interest all year long.
- Dwarf Alberta spruce
- Oenothera 'Siskiyou Pink'
- Salvia
- Missouri Primrose
- Spirea
- Butterfly bush
- Hydrangea


Update December 2016: My little spruce is adorable dressed up for Christmas.
Update Summer 2017: a few plants didn’t survive the winter, but for the most part, my plants are thriving. I love the variety of heights and textures and colors and flowers. The scent of flowers and a flutter of butterflies greets me every time I walk out the door.

Patio
Backyard patio flanked by gardens for entertaining, lounging, and growing.
Before
A narrow walk of sunken pavers connected the back door and screen room stairs, and then trailed off into the yard. The two bushes had outgrown the attractive size, blocking the windows and leaving black splotches on the outside of the house.

During

After
I love stepping out of the basement French doors onto my patio.


Terraced Vegetable Garden
Screen room gone, and replaced with a terraced vegetable garden built with rocks.
When the screen room came down, the scarred footprint was a nasty mix of litter, construction debris, and sand. First I cleaned the garbage and dug out the top foot of dead soil to roughly outline the steps.


Next I used local rocks (boulders, technically) to build steps. This is the granite state, after all... and I had lots of neighbors willing to contribute their rock piles. I experimented with shapes... fitting rocks together and carving into the slope. I didn't want a symmetrical staircase... I wanted something a little more natural feeling.


The sand is so loose that I used plywood pieces to hold back the steps... I'll need to find a more permanent solution, but this works for now. I also learned in the first heavy rain that the sand easily poured through the gaps between the rocks, leaving little deltas on the next level down. Learning from my neighbor Michele's garden success, I tore apart what I had already built, dug a ditch behind each rock wall and sunk a double layer of heavy plastic sheeting to keep the soil where I wanted it.

That's as far as I got in the summer of 2016, which is just as well, since I wasn't about to plant new vegetables in August. My boulder-hoisting continued in spring 2017:


Once I got the step the way I wanted it, I filled each bed with manure-rich organic garden soil and started planting. Happy garden!
